Try this easy Pumpkin Apple Crisp recipe, a perfect fall dessert combining warm spices, sweet apples, and creamy pumpkin purée, topped with a buttery oat crumble topping.
As the crisp autumn air rolls in, there's no better way to embrace the season than with a comforting dessert that combines two fall favorites, pumpkin and apples. Whether you're looking for a twist on the classic apple crisp or just want to enjoy the flavors of fall, this easy-to-make dessert is sure to become a favorite served up with a scoop or two of ice cream.
In This Post
- Some of The Best Cooking and Baking Apples
- Reasons You Should Make This Pumpkin Apple Crisp
- Ingredients You Need To Make This Pumpkin Apple Crisp Recipe
- How To Make Pumpkin Apple Crisp
- Recipe Top Tip
- Serving Suggestions
- Get Free Recipe Updates!
- Substitutions and Variations
- How To Store Leftovers
- FAQ
- More Pumpkin and Apple Recipes
- Pumpkin Apple Crisp (Easy Recipe)
- https://thewholeserving.com/comments/
Some of The Best Cooking and Baking Apples
Baking with apples during the Fall is so incredibly easy, they are widely available in a variety of types. They require minimal prep, just peeling, coring, slicing, or dicing. Apples pair beautifully with autumn spices like cinnamon and nutmeg. Baking with apples during the fall also fills your kitchen with comforting, cozy aromas. Below are some of my favorite apples to use in recipes. They’re also great for simply enjoying fresh as a snack.
Honeycrisp: true to its name, this apple is crisp, juicy, and sweet with a hint of honey, which is where it gets its name. Cooks up wonderfully.
Granny Smith: a very tart apple that is not overly sweet and keeps its shape well when cooked or baked. Nice apple to use when baking apple pie.
Pink Lady: crisp, sweet and tangy flavor and retains its shape well when cooked or baked.
Fuji: crisp and very juicy with a mild and balanced sweet flavor. Holds up well when used in cooked or baked recipes.
Cortland: softer than the other apples listed but keeps its shape when cooked or baked, and has a balance of both sweet and tart.
I used honeycrisp apples, but any of the apples above can be used and will work well in this recipe.
Reasons You Should Make This Pumpkin Apple Crisp
Delicious Fall Flavors: The combination of sweet apples and spiced pumpkin captures the essence of autumn in every bite, making it an ideal seasonal treat.
Easy to Make: With simple ingredients and easy steps, this recipe is approachable for both beginners and experienced bakers.
Crowd-Pleaser: Whether you’re hosting a family gathering or attending a potluck, this warm and comforting dessert is sure to please.
Versatile Serving Options: Enjoy it warm with a scoop of ice cream, or serve it chilled with whipped cream, either way, it’s delicious.
Great for Leftovers: The crisp holds up well and tastes just as good the next day, making it a perfect snack.
Ingredients You Need To Make This Pumpkin Apple Crisp Recipe
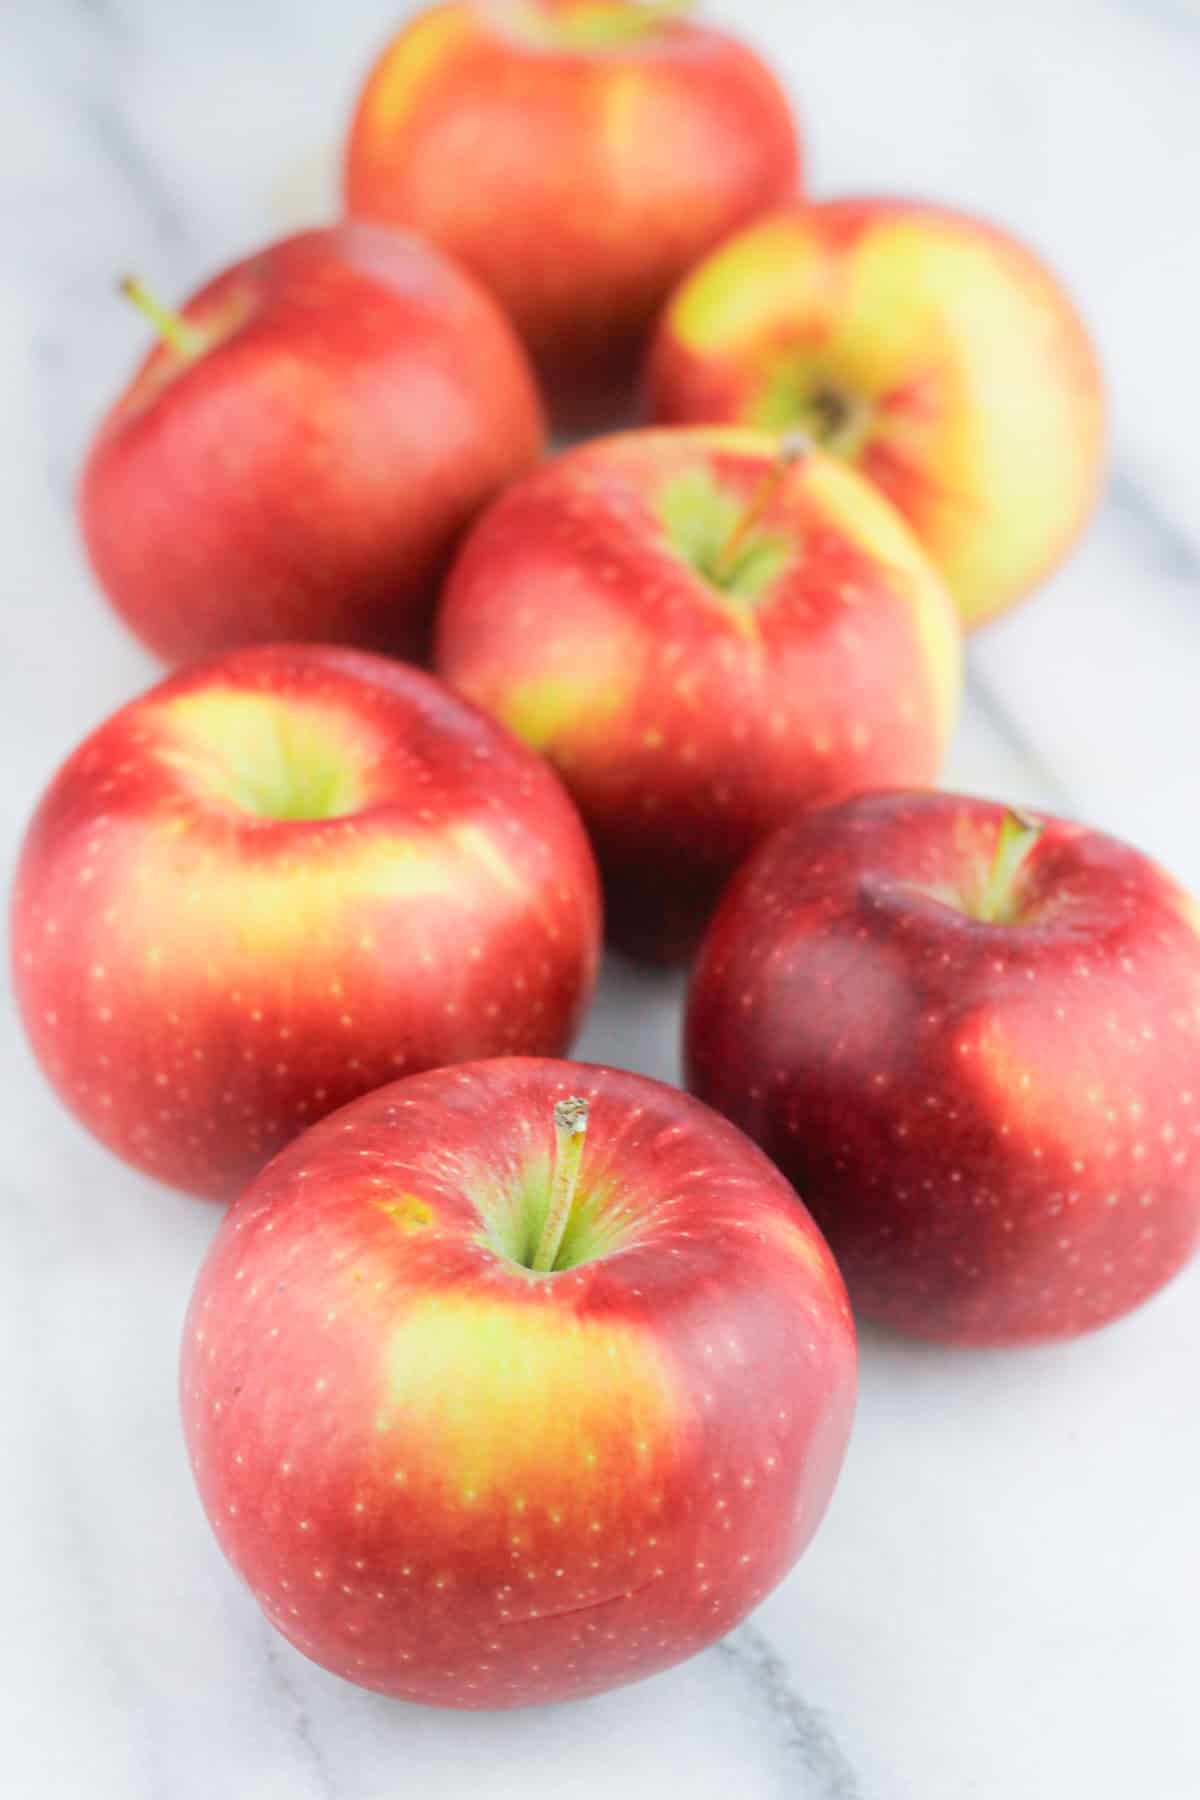
Apples: Use tart and firm apples like Granny Smith, Honeycrisp, Pink Lady, or any of the apples above from the list for the perfect balance of sweetness and they hold up well when baked.
Pumpkin Purée: Smooth and subtly spiced, pumpkin purée brings a warm, earthy flavor. Do not use pumpkin pie filling make sure you use pure pumpkin purée. I used canned, however if you want to make your own purée, here is how to make homemade pumpkin purée.
Brown Sugar: With its molasses undertones, brown sugar adds depth and a caramel-like richness and moisture to both the filling and topping.
Granulated Sugar: Granulated sugar will increase the overall sweetness without changing the flavor profile too much. The combination of granulated and brown can help you achieve a balanced sweetness.
Cinnamon: This warming spice is a classic fall staple, infusing the dessert with cozy, aromatic notes.
Nutmeg: Just a touch of nutmeg provides a sweet, nutty spice.
Ground Ginger: A pinch of ground ginger adds a subtle zing.
Ground Cloves: Strong and aromatic, cloves add a spicy warmth.
Lemon Juice: The acidity of lemon juice brightens the filling.
Vanilla Extract: Adds a sweet, floral aroma that rounds out the flavor profile of the filling.
Rolled Oats: Oats give the crisp topping a hearty texture and wholesome chew.
All-Purpose Flour: Flour helps to thicken the filling and combined with the topping ingredients, it helps to create a crumbly and crisp texture.
Unsalted Butter: Cold butter is crucial for making a rich, golden-brown topping that melts in your mouth.
Salt: Just a pinch of salt enhances the sweetness and flavors of both the topping and filling.
See recipe card for quantities.
How To Make Pumpkin Apple Crisp
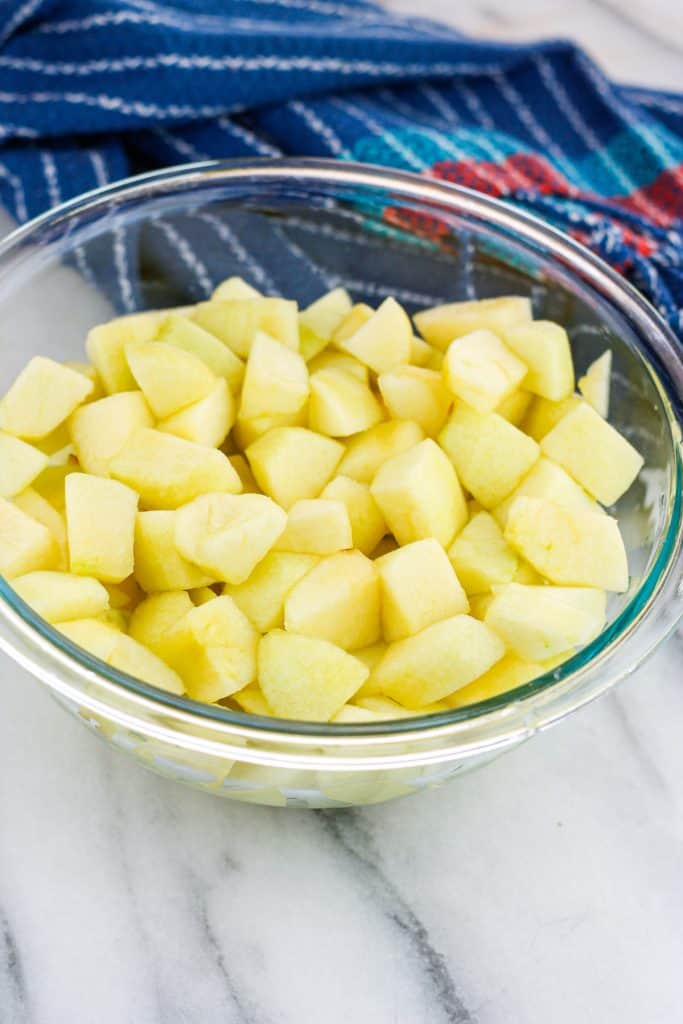
Preheat oven and dice the apples
Preheat your oven to 350°F (175°C). Grease a 14x9 rectangle baking dish or similar-sized dish.
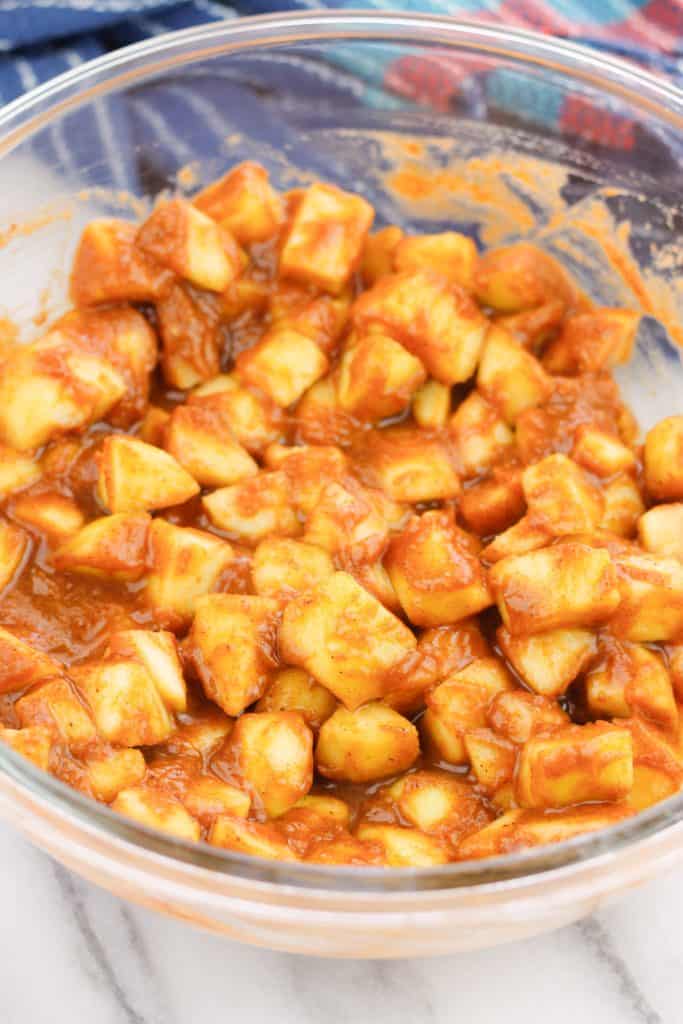
Prepare the filling
In a large bowl, combine the diced apples with the pumpkin purée, brown sugar, granulated sugar, cinnamon, nutmeg, ginger, cloves, lemon juice, and vanilla extract. Toss until the apples are well-coated and evenly mixed with the pumpkin.
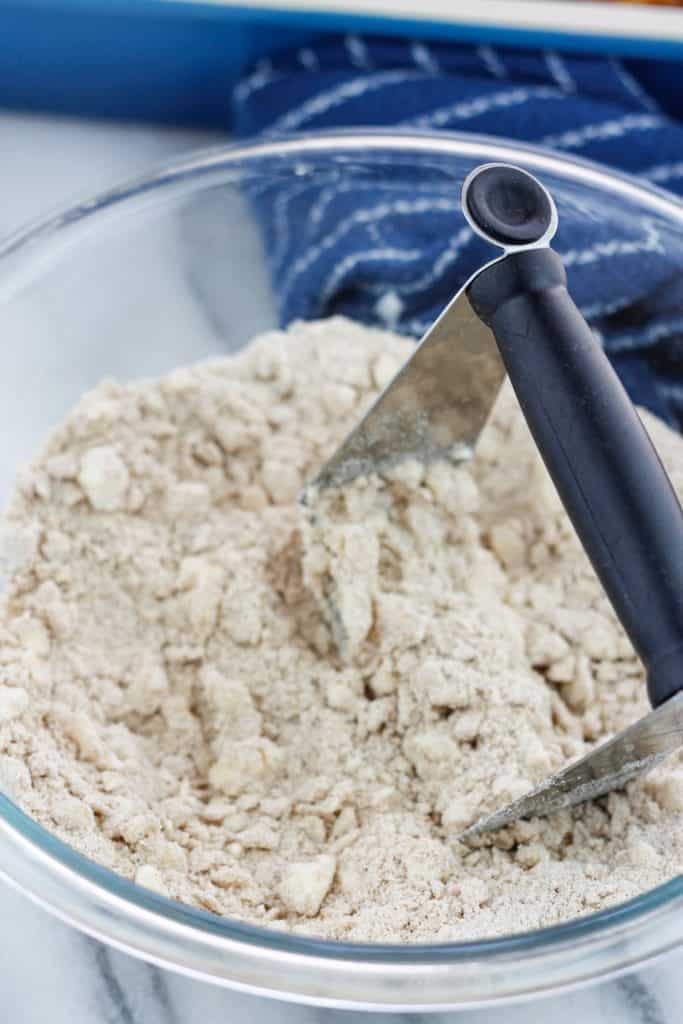
Make the crisp topping
In another bowl place the flour, brown sugar, ground cinnamon, ground nutmeg, ground ginger, ground cloves and stir until well combined. Add the cold, cubed butter and use a pastry cutter or your fingers to work the butter into the dry ingredients until the mixture resembles coarse crumbs.
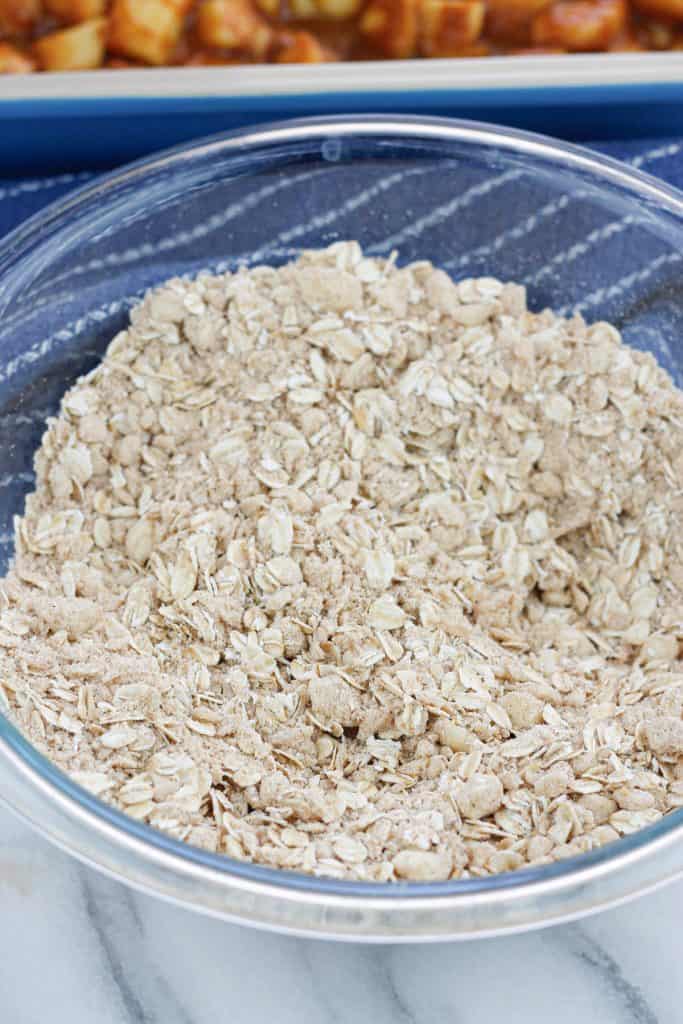
Mix in the oats
When the mixture resembles a coarse crumb mix in the oats until well combined.
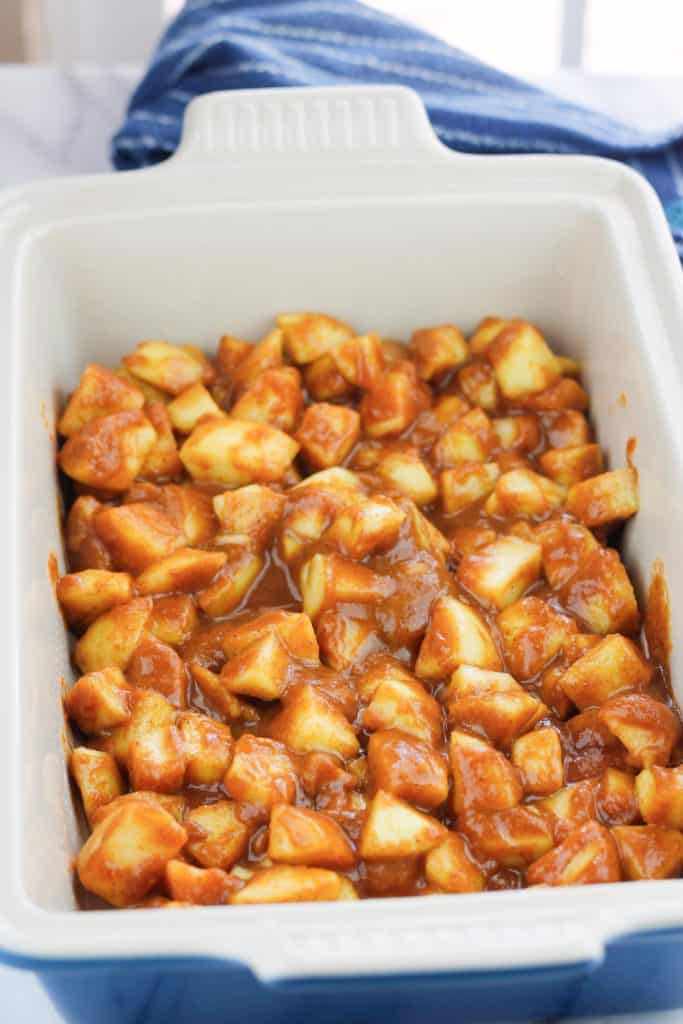
Transfer filling to the baking dish
Pour the apple and pumpkin mixture into the prepared baking dish, spreading it out evenly.
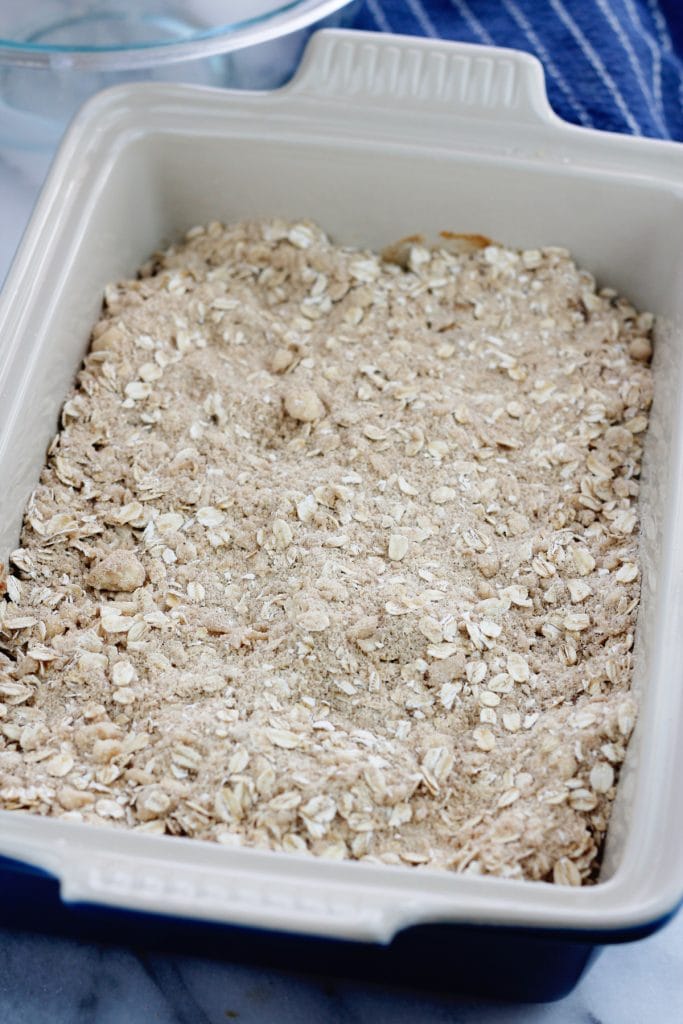
Sprinkle the topping over the apples and bake
Sprinkle the crisp topping over the apple mixture, ensuring it’s evenly distributed. Bake in the preheated oven for 40-45 minutes, or until the topping is golden brown and the filling is bubbly.
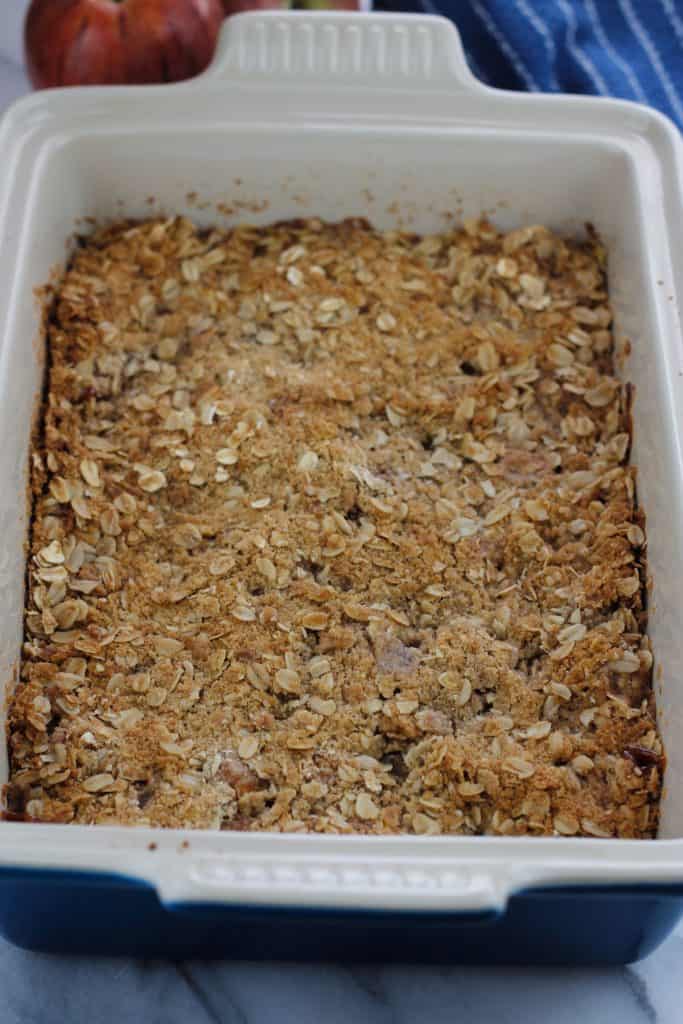
Cool and serve
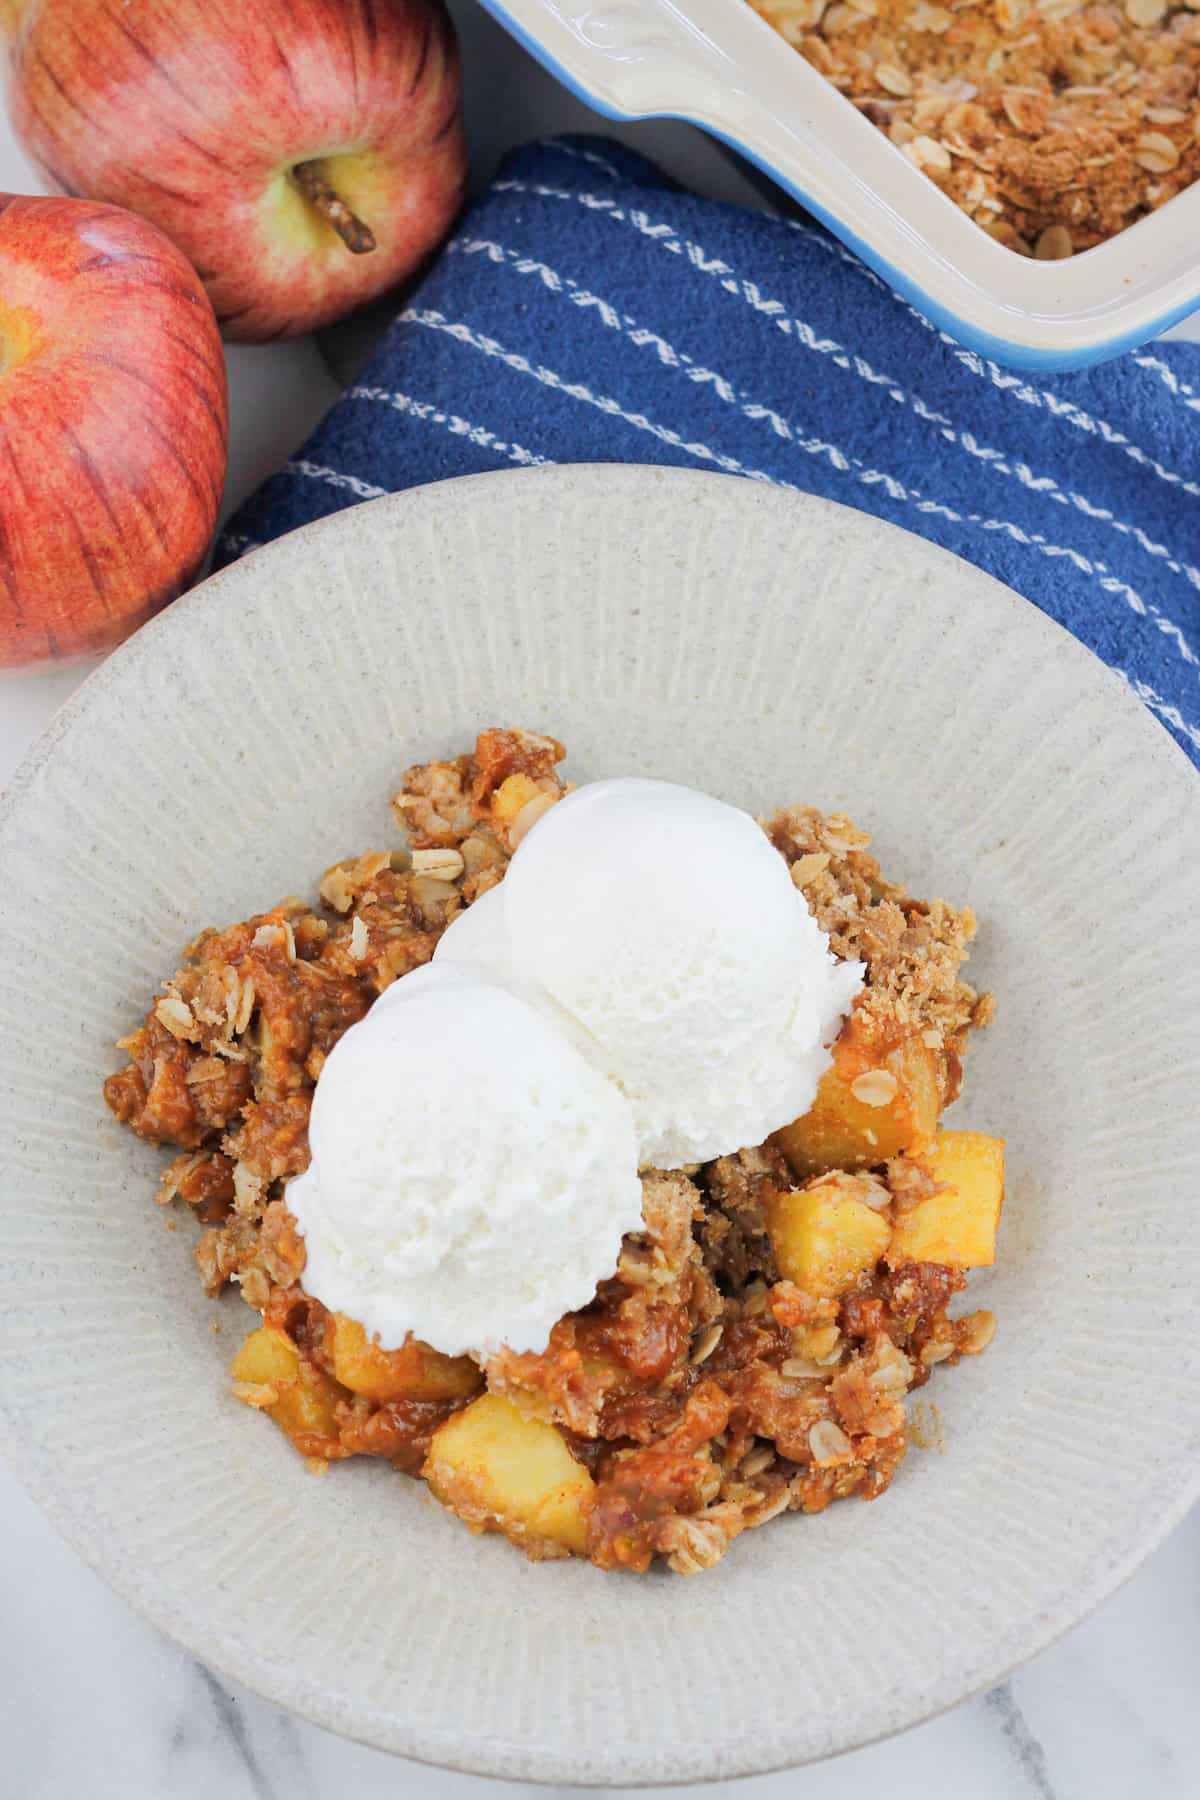
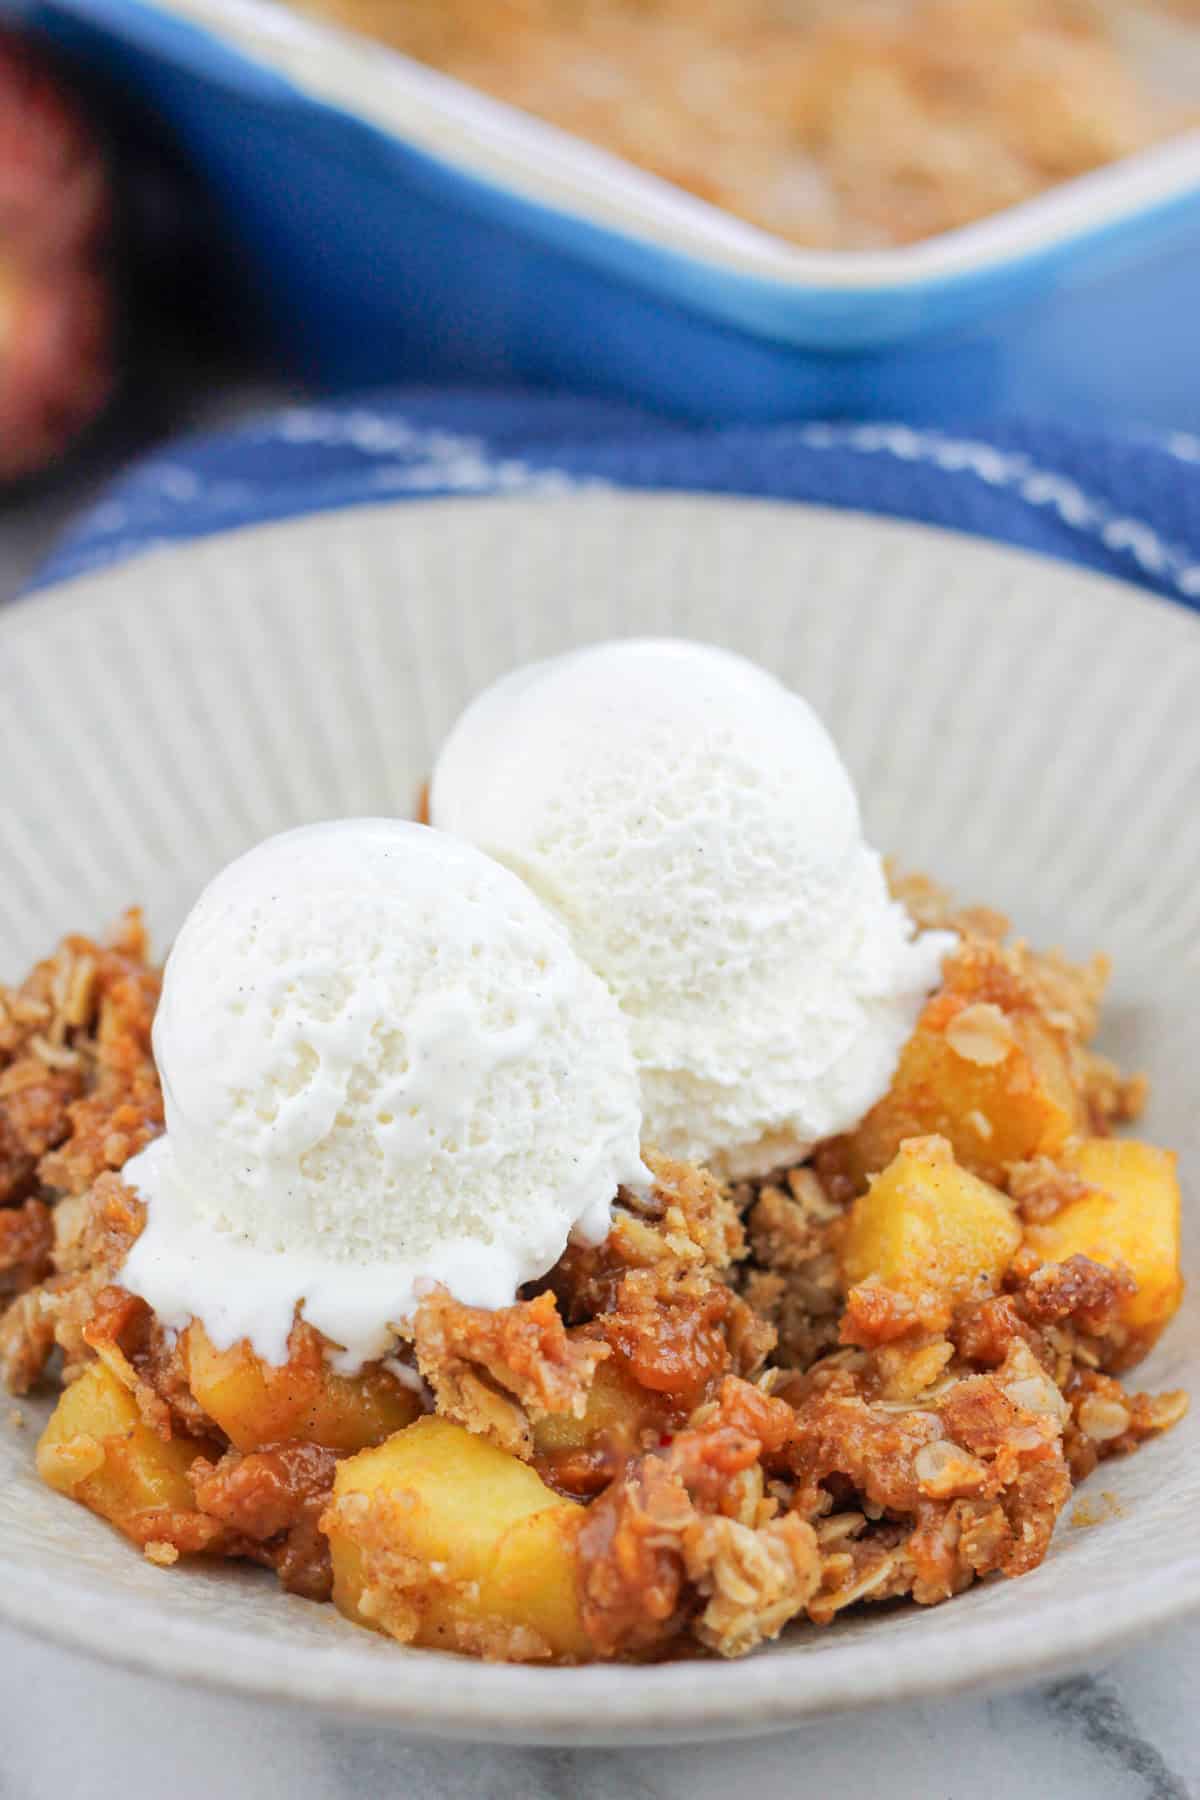
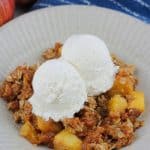
Allow the apple crisp to cool for about 10 minutes before serving. It can be served warm or at room temperature. Serve with a scoop of vanilla ice cream or a dollop of whipped cream for an extra indulgent treat.
Recipe Top Tip
Keep the Butter Cold: Cold butter is essential for a crisp, crumbly topping. Use a pastry cutter or your fingers to work the butter into the flour and oats, but avoid overmixing.
Serving Suggestions
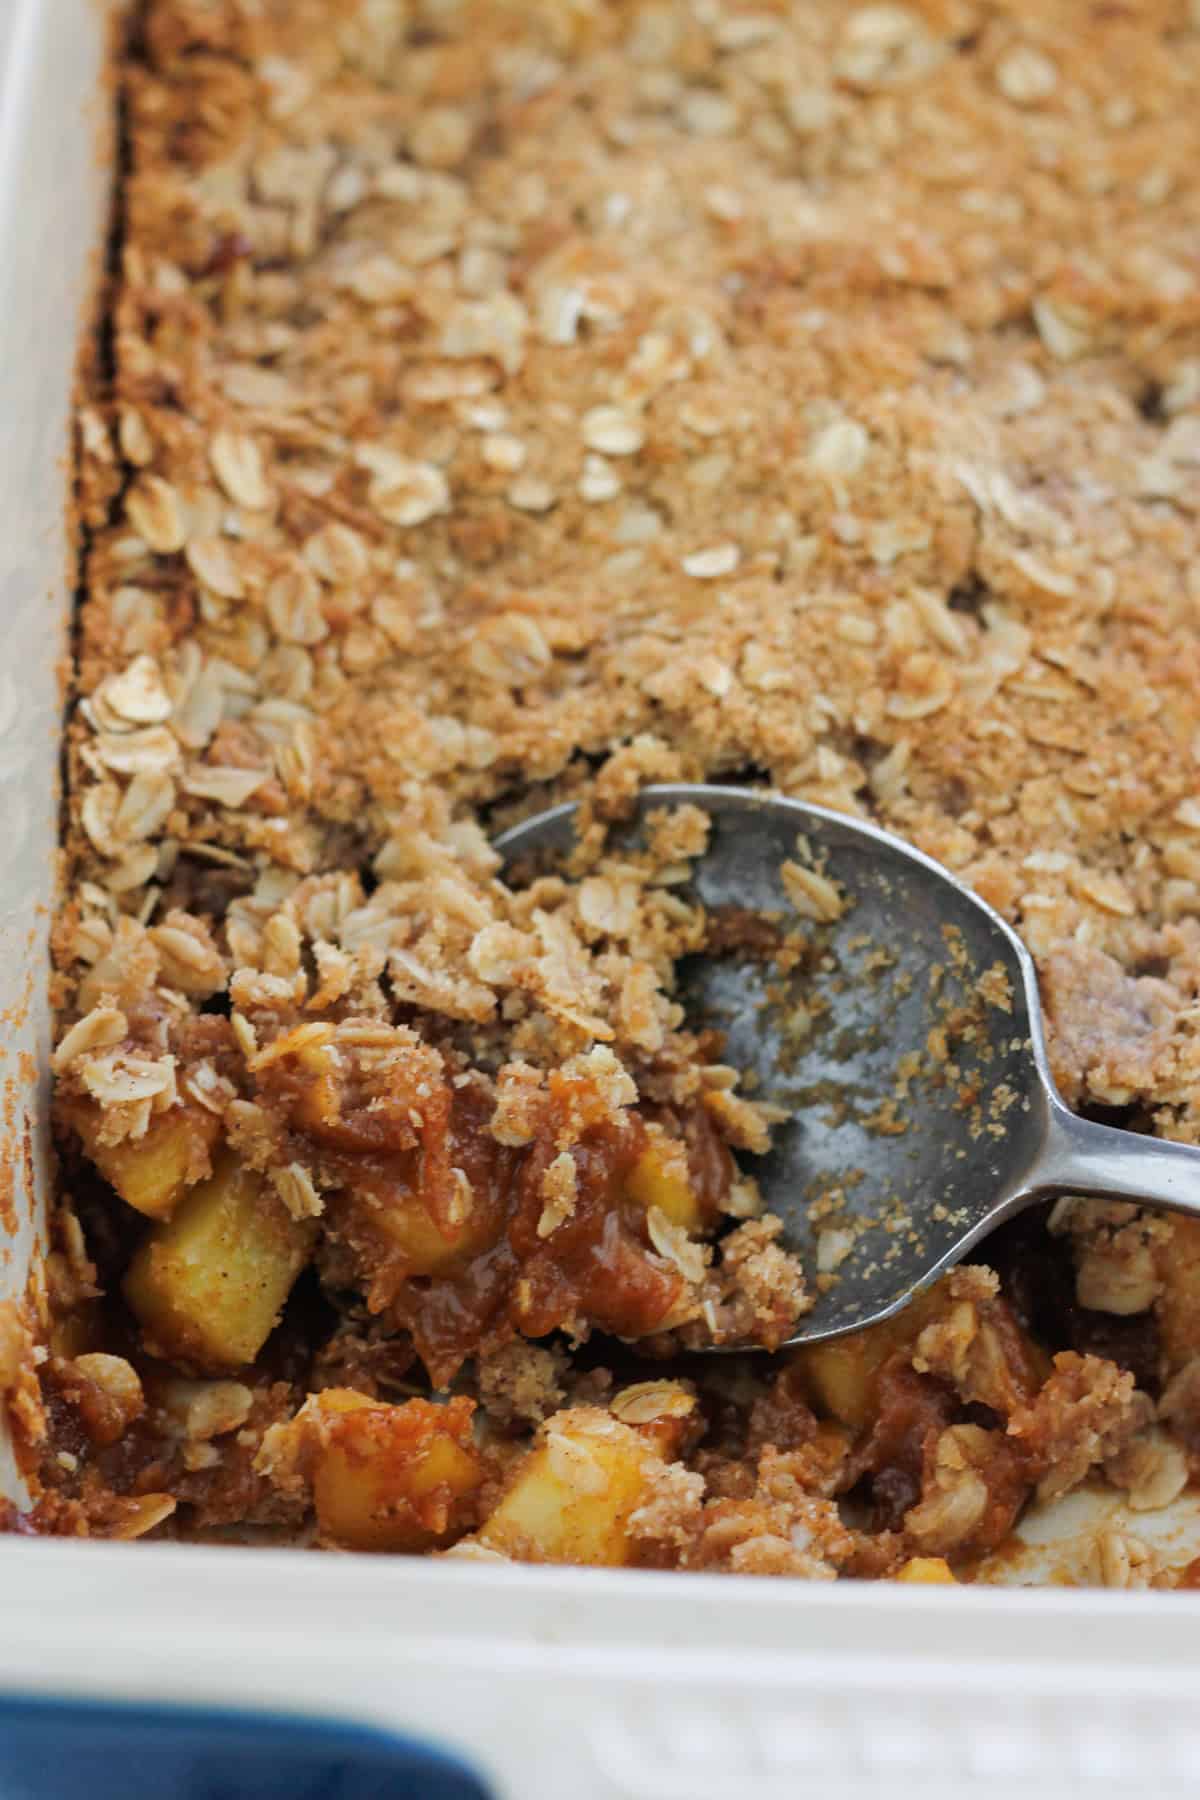
Here are a few serving suggestions for your Pumpkin Apple Crisp:
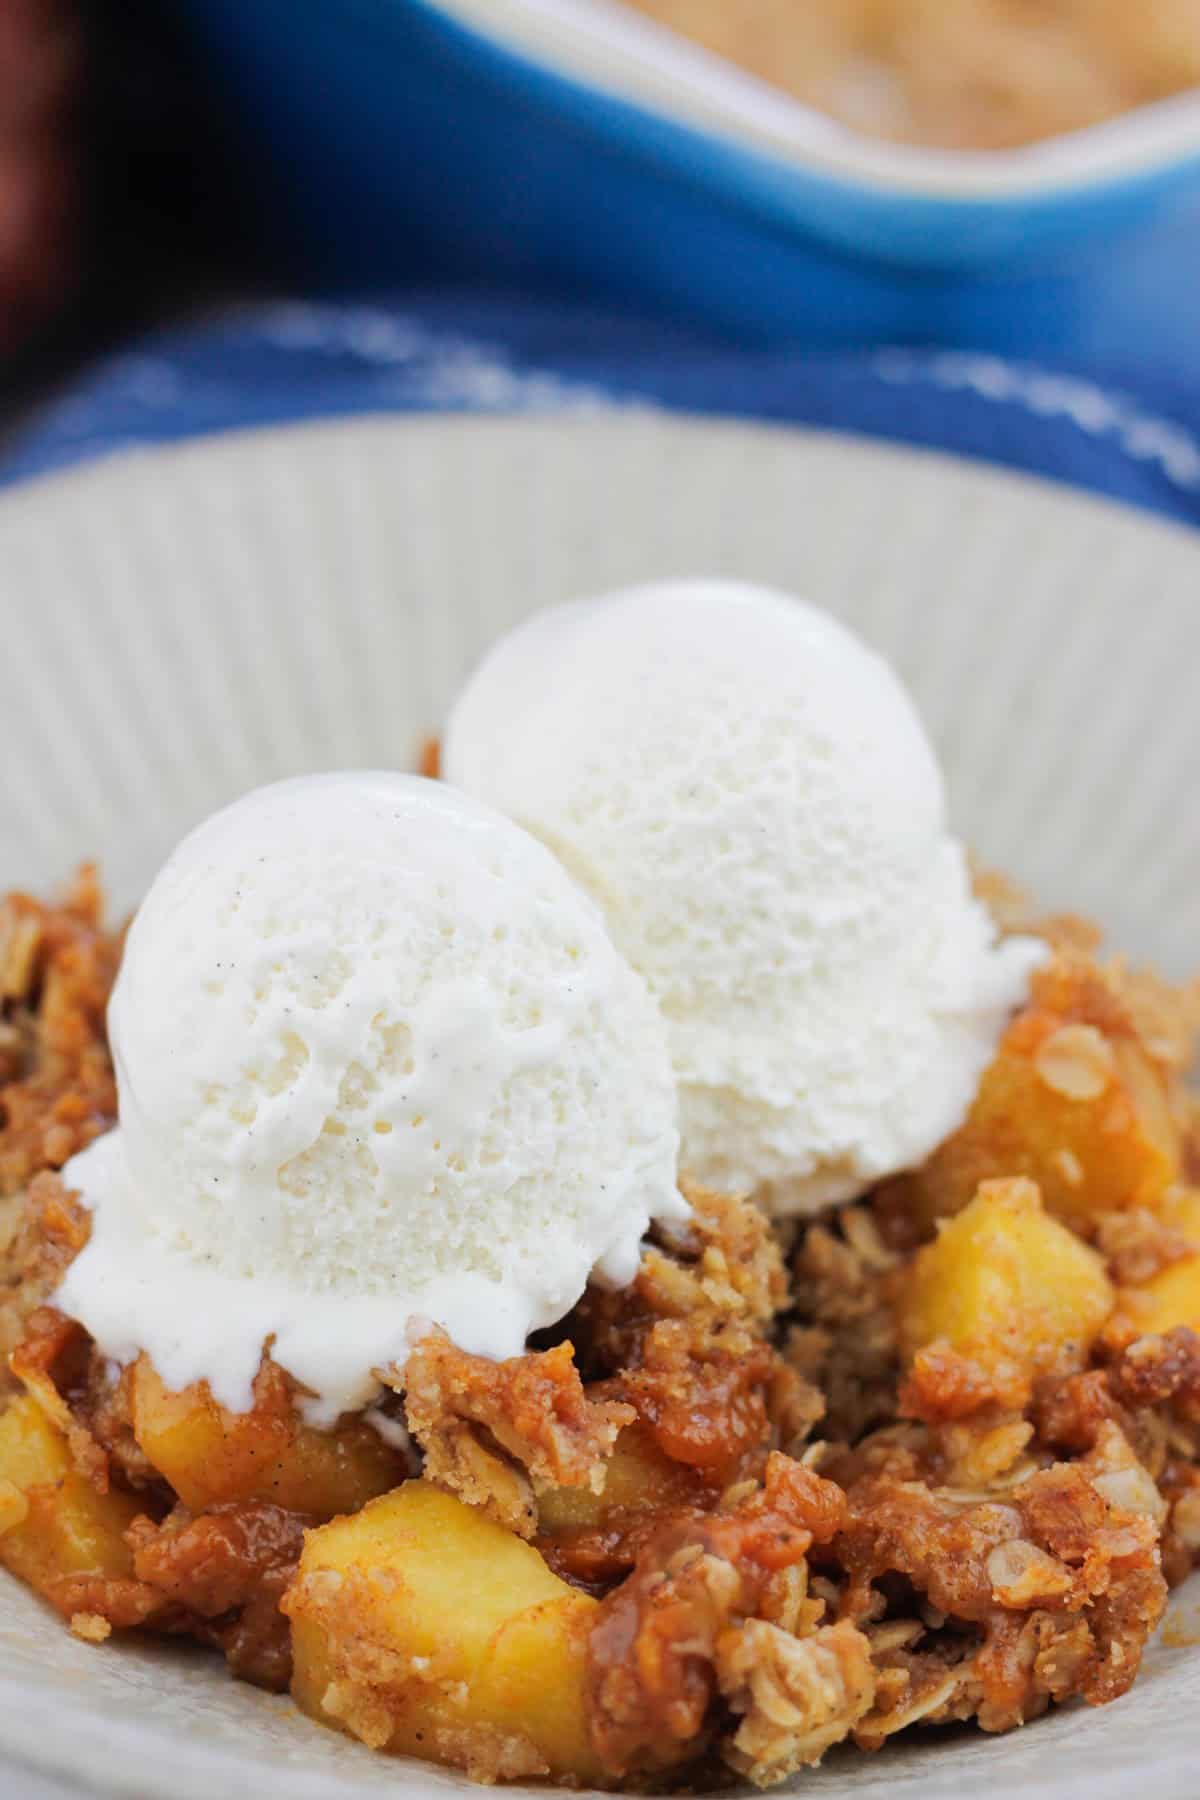
Vanilla Ice Cream: The warm crisp pairs beautifully with a scoop of creamy vanilla ice cream, creating a delightful contrast of hot and cold.
Whipped Cream: Add a light and airy touch by serving the crisp with a dollop of whipped cream, either homemade or store-bought.
Caramel Sauce: For an extra indulgent treat, drizzle warm caramel sauce over the crisp before serving to enhance the sweetness.
Greek Yogurt: For a slightly healthier option, serve it with a spoonful of plain or vanilla Greek yogurt to add creaminess and a bit of tang.
Get Free Recipe Updates!
Substitutions and Variations
Apples: Swap apples for pears or a mix of apples and pears for a slightly different fruit flavor. If you use pears, make sure to choose firm varieties like Bosc or Anjou so they hold up well during baking.
Pumpkin Purée: Use sweet potato purée or butternut squash purée if you want a twist on the traditional flavor.
Sugar: Use maple syrup, honey, or coconut sugar in place of granulated and brown sugar for a more natural sweetener.
Oats: For a crunchier texture, use quick oats instead of rolled oats, or try quinoa flakes for a gluten-free alternative.
Crumble Variation: Add shredded coconut or chopped chocolate to the topping for a unique flavor combination.
Gluten-Free Version: Use a gluten-free flour blend and certified gluten-free oats to make the crisp gluten-free.
Vegan Version: Make the dish vegan by using coconut oil or a vegan butter substitute in the topping and replacing the sugar with a plant-based sweetener like agave syrup or maple syrup.
How To Store Leftovers
Refrigerator: Allow the crisp to cool completely, then transfer it to an airtight container or cover the baking dish tightly with plastic wrap or foil. Store in the fridge for up to 4-5 days.
Freezer: For longer storage, you can freeze the crisp. Place it in a freezer-safe container or wrap it tightly with plastic wrap and then foil. It will last for up to 3 months in the freezer.
Reheating: To reheat, thaw it in the fridge overnight before warming individual portions in the microwave for 30-45 seconds, or reheat the entire crisp in the oven at 350°F (175°C) for about 15-20 minutes, until warmed through and the topping is crisp again.
FAQ
Yes, you can definitely use pears in place of or alongside apples in this recipe! Pears add a sweet and slightly softer texture, which complements the spiced pumpkin filling beautifully. Just make sure to choose firm varieties like Bosc or Anjou so they hold up well during baking. Adjust the sugar if needed, as pears tend to be sweeter than apples.
If you don’t have oats, you can substitute them with crushed cornflakes or panko breadcrumbs to create a similar crisp texture.
Definitely! You can mix in other fall fruits like pears, cranberries, or even peaches for a varied flavor.
More Pumpkin and Apple Recipes
Pumpkin Apple Crisp (Easy Recipe)
Discover the perfect fall dessert with this easy Pumpkin Apple Crisp recipe, featuring warm spiced apples, creamy pumpkin purée, and a buttery oat crumble topping.
- Prep Time: 15
- Cook Time: 45
- Total Time: 1 hour
- Category: Sweets, Pumpkin Recipes
- Method: Baking
- Cuisine: American
Ingredients
Filling
- 3 pounds of crisp apples (honeycrisp, Granny Smith, or any crisp apple variety), peeled, cored, and diced
- ⅔ cup pure pumpkin purée
- ½ cup brown sugar
- ½ cup granulated sugar
- 1 teaspoon vanilla
- juice of 1 small lemon
- 1 teaspoon ground cinnamon
- ½ teaspoon ground nutmeg
- ½ teaspoon ground ginger
- ½ teaspoon ground cloves
- ½ teaspoon salt
- ¼ cup all-purpose flour
Topping
- ⅔ cup of all-purpose flour
- ⅔ cup brown sugar
- 1 teaspoon ground cinnamon
- ½ teaspoon ground nutmeg
- ½ teaspoon ground ginger
- ½ teaspoon ground cloves
- ½ cup cold butter (1 stick) cut into cubes
- 1 cup whole rolled oats
Instructions
Preheat Oven: Preheat your oven to 350°F (175°C). Grease a 14x9 rectangle baking dish or similar-sized dish.
Prepare the Filling: In a large bowl, combine the diced apples with the pumpkin purée, brown sugar, granulated sugar, cinnamon, nutmeg, ginger, cloves, lemon juice, and vanilla extract. Toss until the apples are well-coated and evenly mixed with the pumpkin.
Make the Crisp Topping: In another bowl place the flour, brown sugar, ground cinnamon, ground nutmeg, ground ginger, ground cloves and stir until well combined. Add the cold, cubed butter and use a pastry cutter or your fingers to work the butter into the dry ingredients until the mixture resembles coarse crumbs. Stir in the oats
Assemble the Crisp: Pour the apple and pumpkin mixture into the prepared baking dish, spreading it out evenly. Sprinkle the crisp topping over the apple mixture, ensuring it’s evenly distributed.
Bake: Bake in the preheated oven for 40-45 minutes, or until the topping is golden brown and the filling is bubbly.
Cool and Serve: Allow the apple crisp to cool for about 10 minutes before serving. It can be served warm or at room temperature. Serve with a scoop of vanilla ice cream or a dollop of whipped cream for an extra indulgent treat.







Elaine says
This turned out great. I added cardamon. I added one banana and some fresh cranberries. I used DIY GF flour. I used coconut sugar because I did not have brown sugar. This is delicious, moist, and just yum.
Celeste says
Elaine I'm so glad it turned out great for you and I like that you put your own spin on the recipe to make it your own!