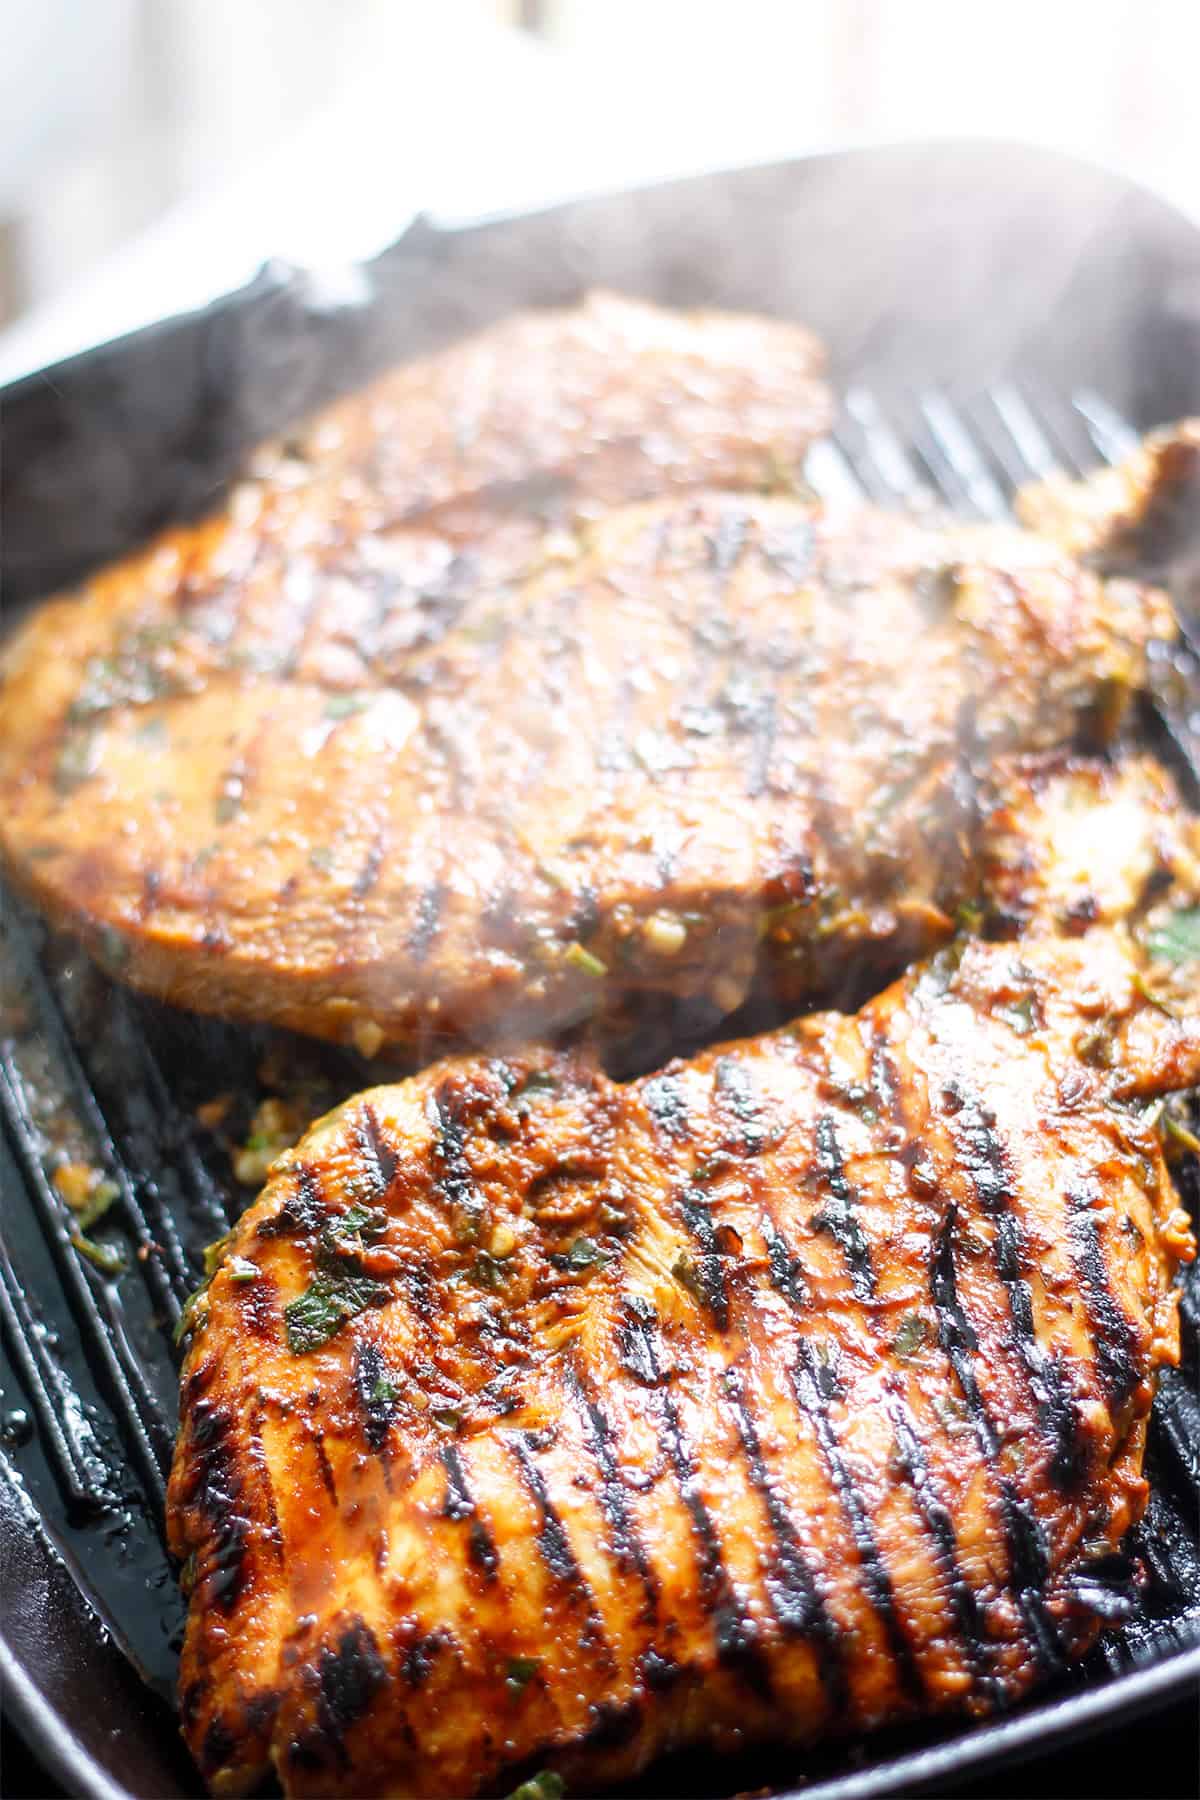
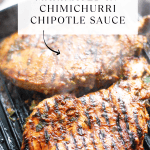
This grilled chicken breast marinated in chimichurri chipotle sauce is tender, juicy and delicious. It’s super quick and easy with your grill pan.
Grilled chicken is one of my favorites and my grill pan is a time saver when I don’t have the time for my outside grill.
I find that marinating my chicken before grilling makes a big difference, because it adds so much flavor.
In This Post
Why Marinate Your Chicken
Marinating chicken adds flavor and in acids also breaks down the chicken’s tissue which helps the chicken retain more liquid adding juicy tenderness.
The core base of marinades are typically a combination of acid-lemon juice or vinegar, fat and sweetness. Once you have your base you can add in any herbs, spices and salt. That’s what makes marinades so versatile, you can make one to suit you and your family’s taste.
Best Way To Marinate Chicken
Prep chicken- When cooking boneless chicken I like to flatten using a mallet or heavy pan. This allows for even cooking.
Use a zip bag- Using a zip bag allows easy flipping of the bag occasionally and it makes clean-up easy.
Marinate long enough- I recommend marinating overnight or for at least an hour before cooking. It helps to tenderize the chicken and allows it to absorb flavor from the marinade.
Choosing A Grill Pan
I would highly recommend a cast iron grill pan with raised ridges because they are heavy and retain their heat. And heat is what you’ll need to get a good sear, and the raised ridges will give you good grill marks.
A grill pan with a longer handle on one side and a helper handle on the opposite side of the pan is my favorite. The longer handle doesn’t get as hot and the helper handle, usually a loop or tab, can assist when lifting the pan. Cast iron grill pans are perfect for grilling indoors.
Seasoned or Enameled
Seasoned cast iron requires more maintenance. This type of pan is bare iron and will need to be seasoned before using and periodically after using to keep it in good condition. Seasoned pans are incredibly durable and almost impossible to crack or break and can last you a lifetime.
Enameled cast iron is coated with a thin layer of enamel that creates a smooth, non-porous, non-reactive cooking surface. No seasoning is required for enamel coated pans.
Shape of Pan
When it comes to shape, you can choose square or round. I like to use a square pan because it has more surface area inside the pan for grilling.
Prepping Your Grill Pan
Make sure your pan is clean and dry. Preheat your pan on high heat for 2-3 minutes, reduce the heat to medium high heat and brush with a bit of oil before adding food to the pan.
Caring For Your Grill Pan
Seasoned Cast Iron-After allowing your pan to cool, use a small amount of dish soap to wash and if needed use a scrubber or scraper for stuck on food. Dry immediately after washing. Rub a very light layer of cooking oil or seasoning spray on the surface and wipe into the pan, until no oil residue remains. Store in a cool dry place.
Enamel Coated Cast Iron-Allow your pan to cool, then use a gentle dish soap with warm water. If needed, use a non-abrasive scrubber or brush to remove any stuck on food. Avoid using steel wool or scouring pads, harsh detergents, bleach or abrasive cleaners.Dry completely before storing on your stovetop or in a cool dry place.
Ingredients
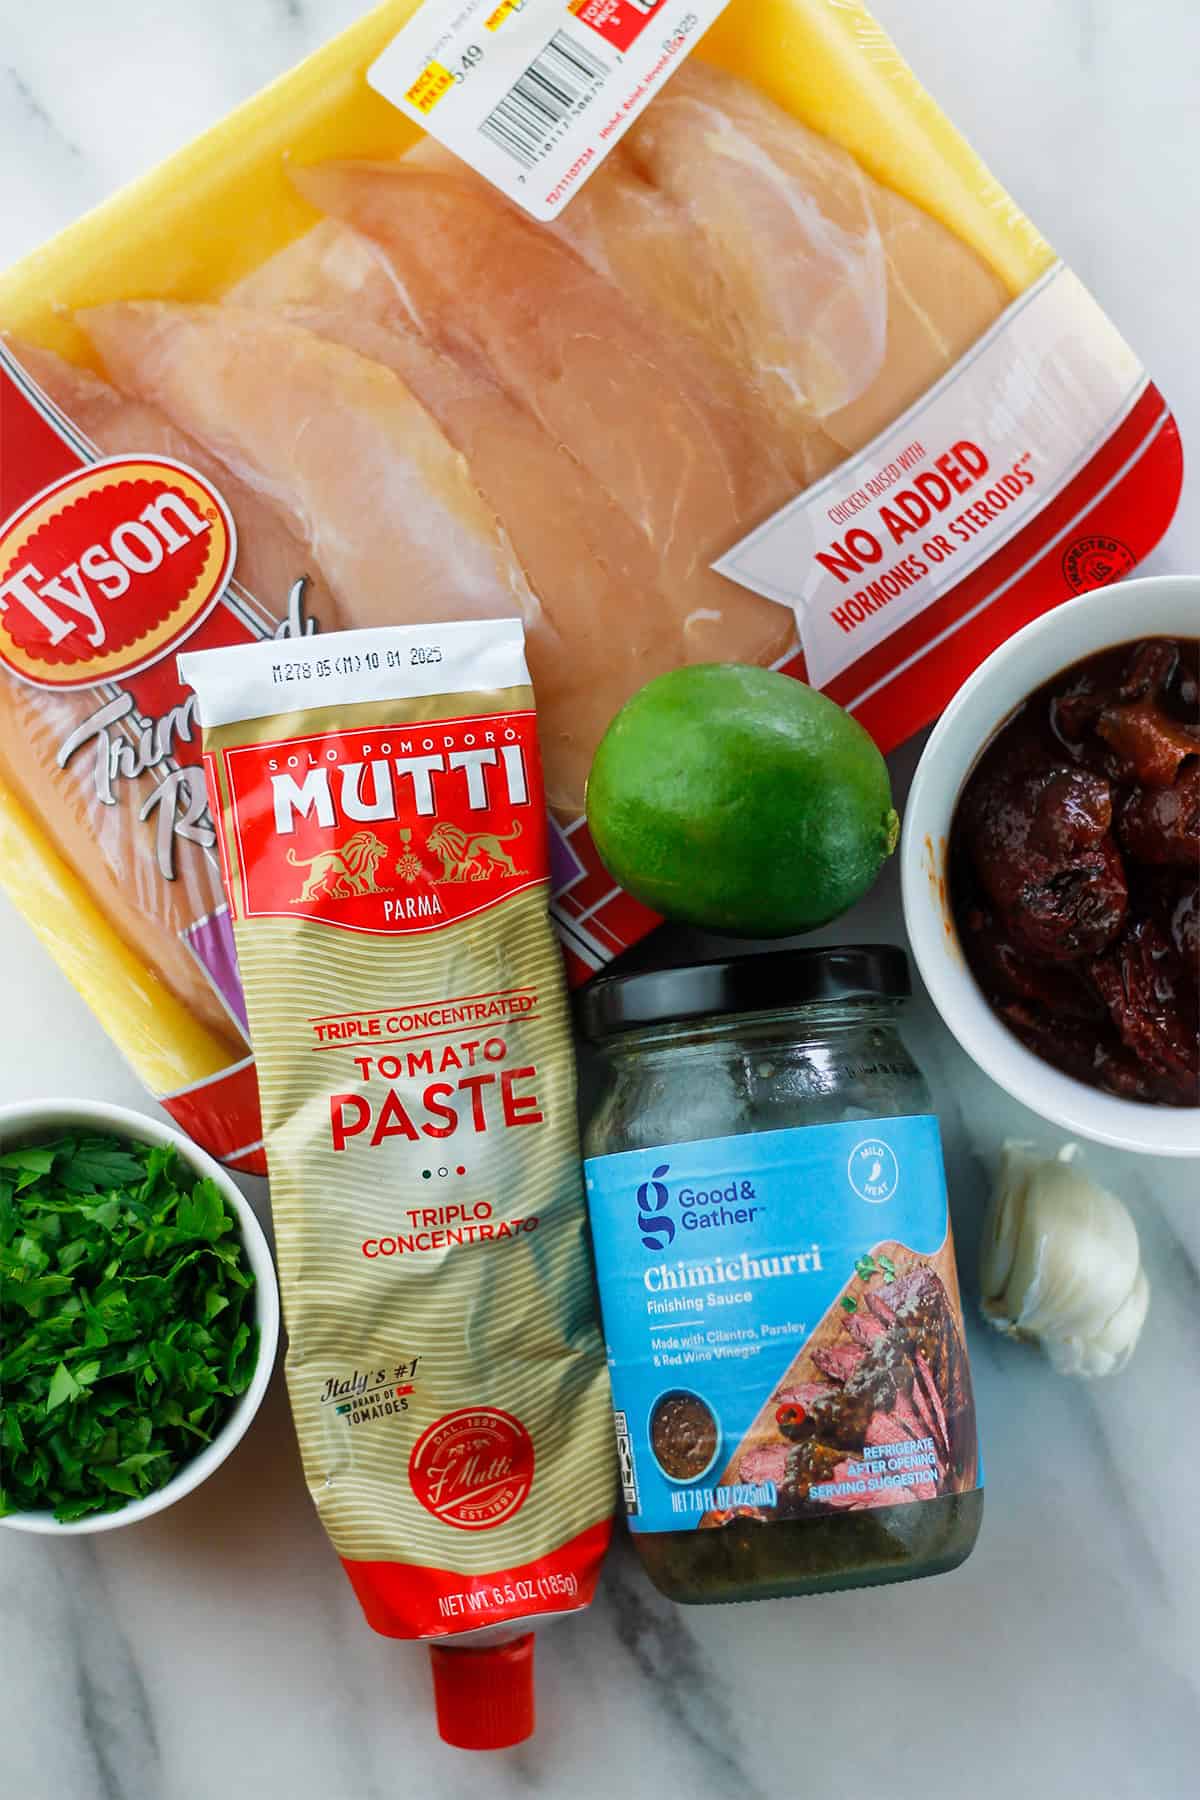
- Store purchased chimichurri sauce
- Chipotle chiles in adobo sauce
- Fresh lime juice
- Garlic cloves
- Tomato paste
- Fresh cilantro
- olive oil
- Boneless chicken breast
See recipe card for quantities.
Instructions
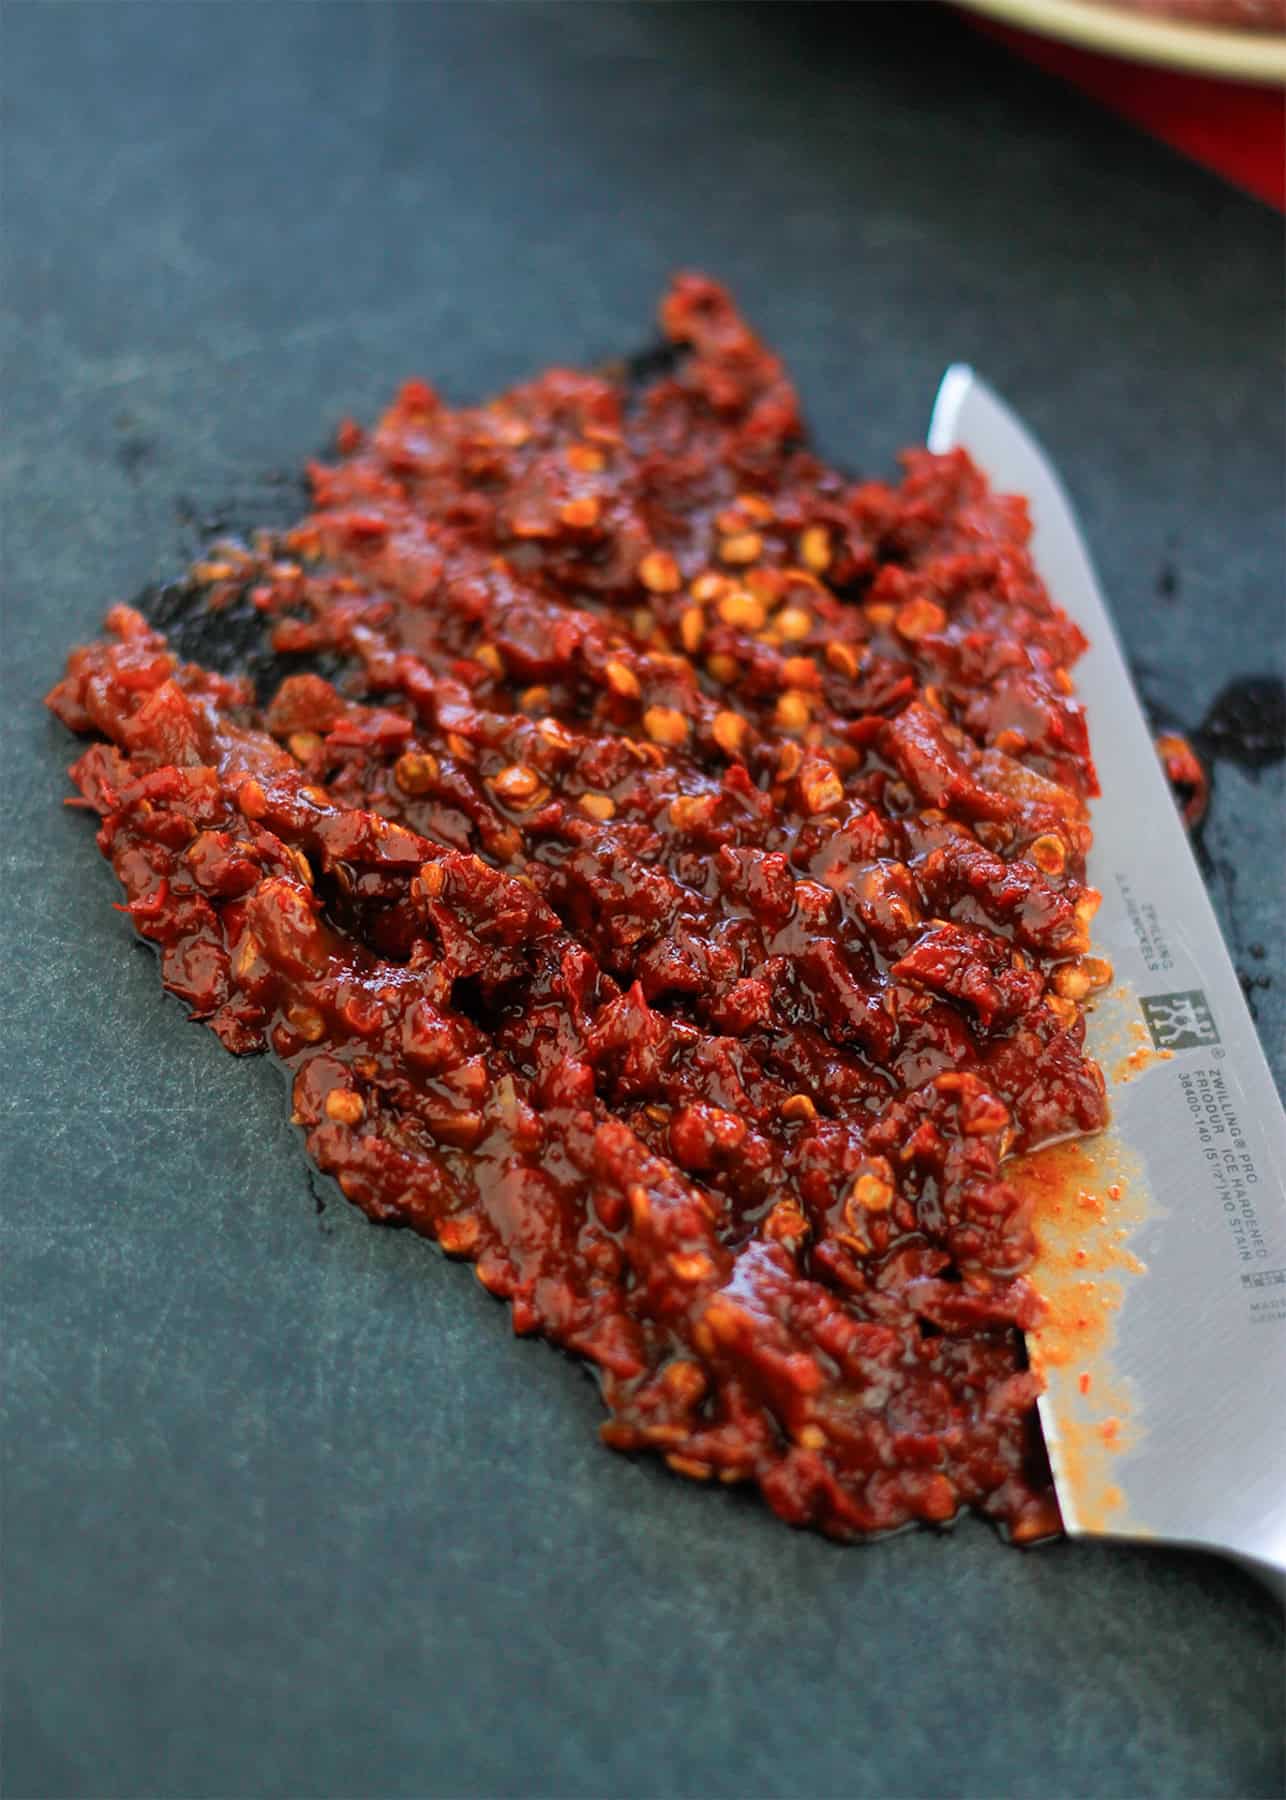
Finely Chop Chipotle Chilies
Finely chop the chipotle chilies.
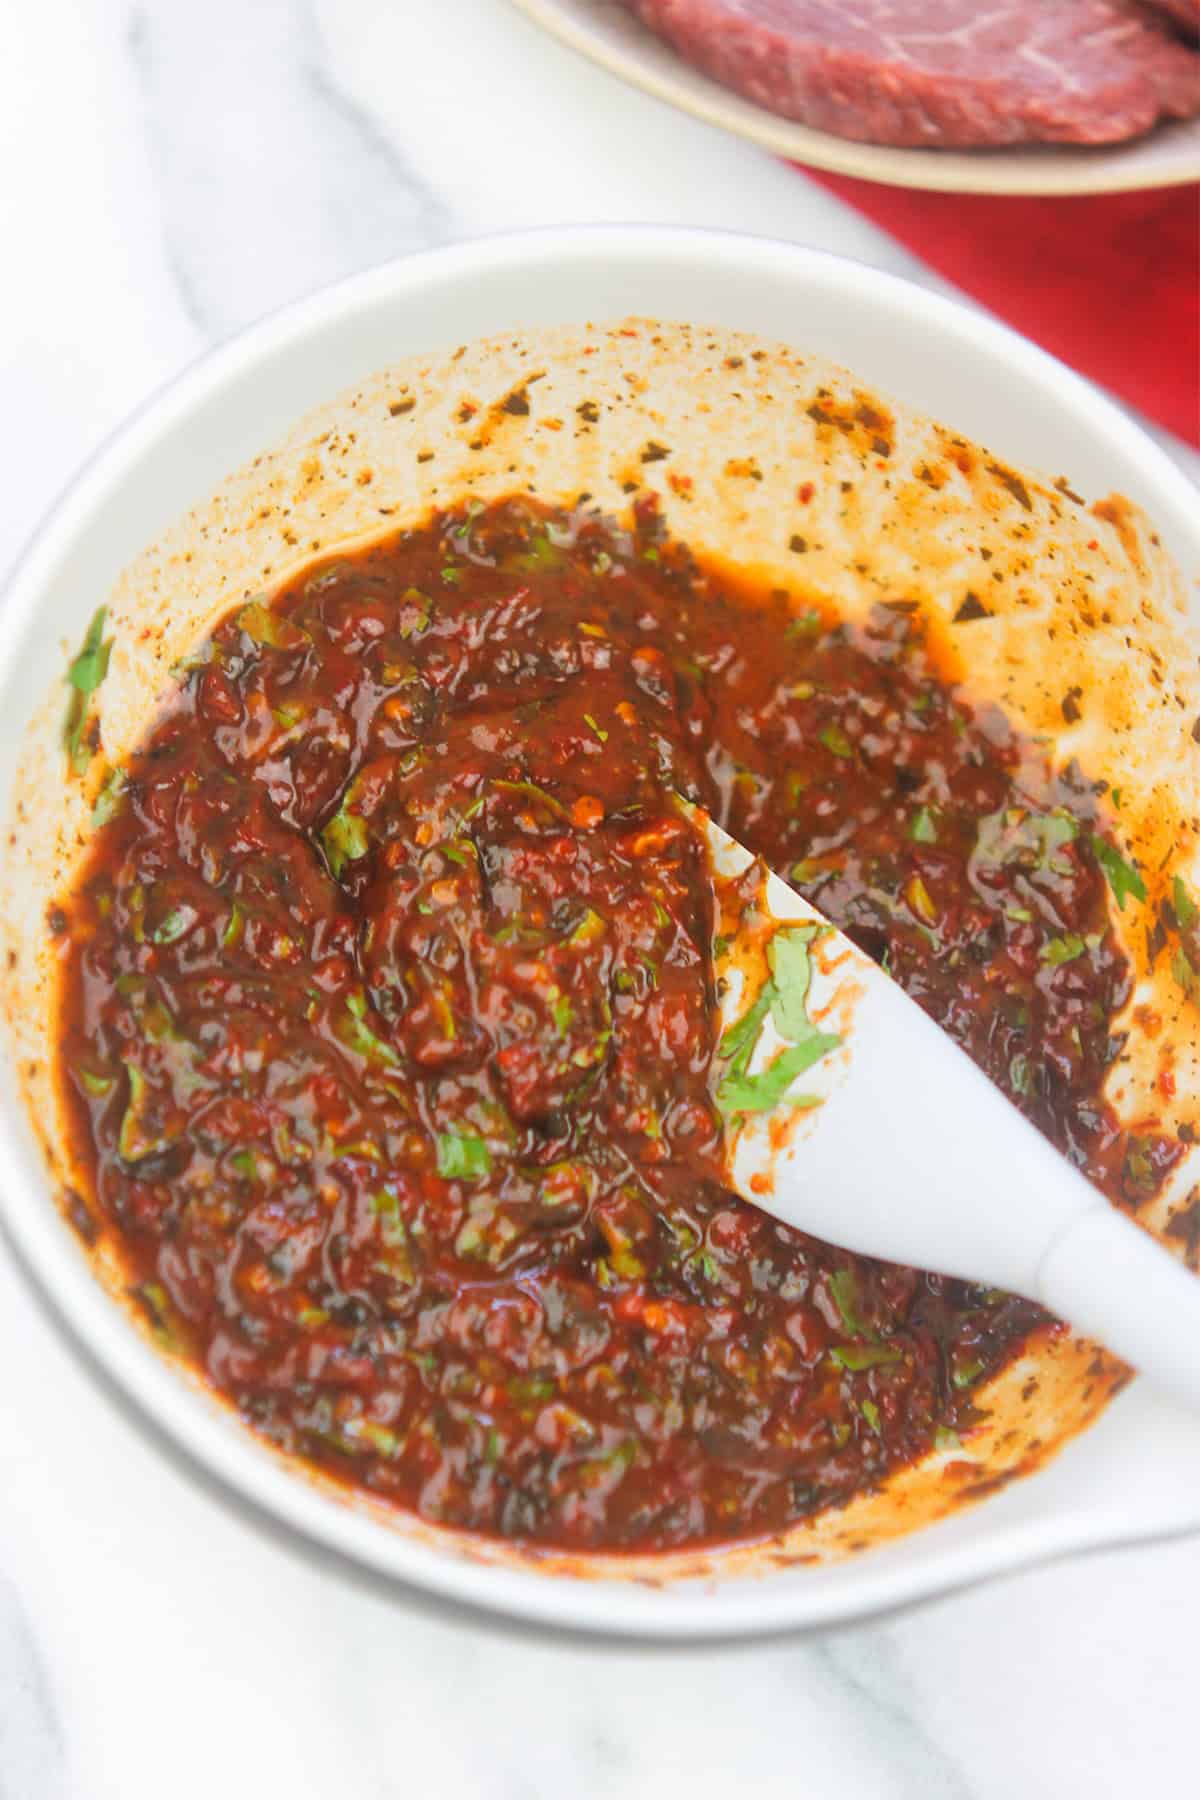
Mix Marinade
Add the chilies to a bowl with the remaining marinade ingredients and stir to mix well. Cover and set aside.
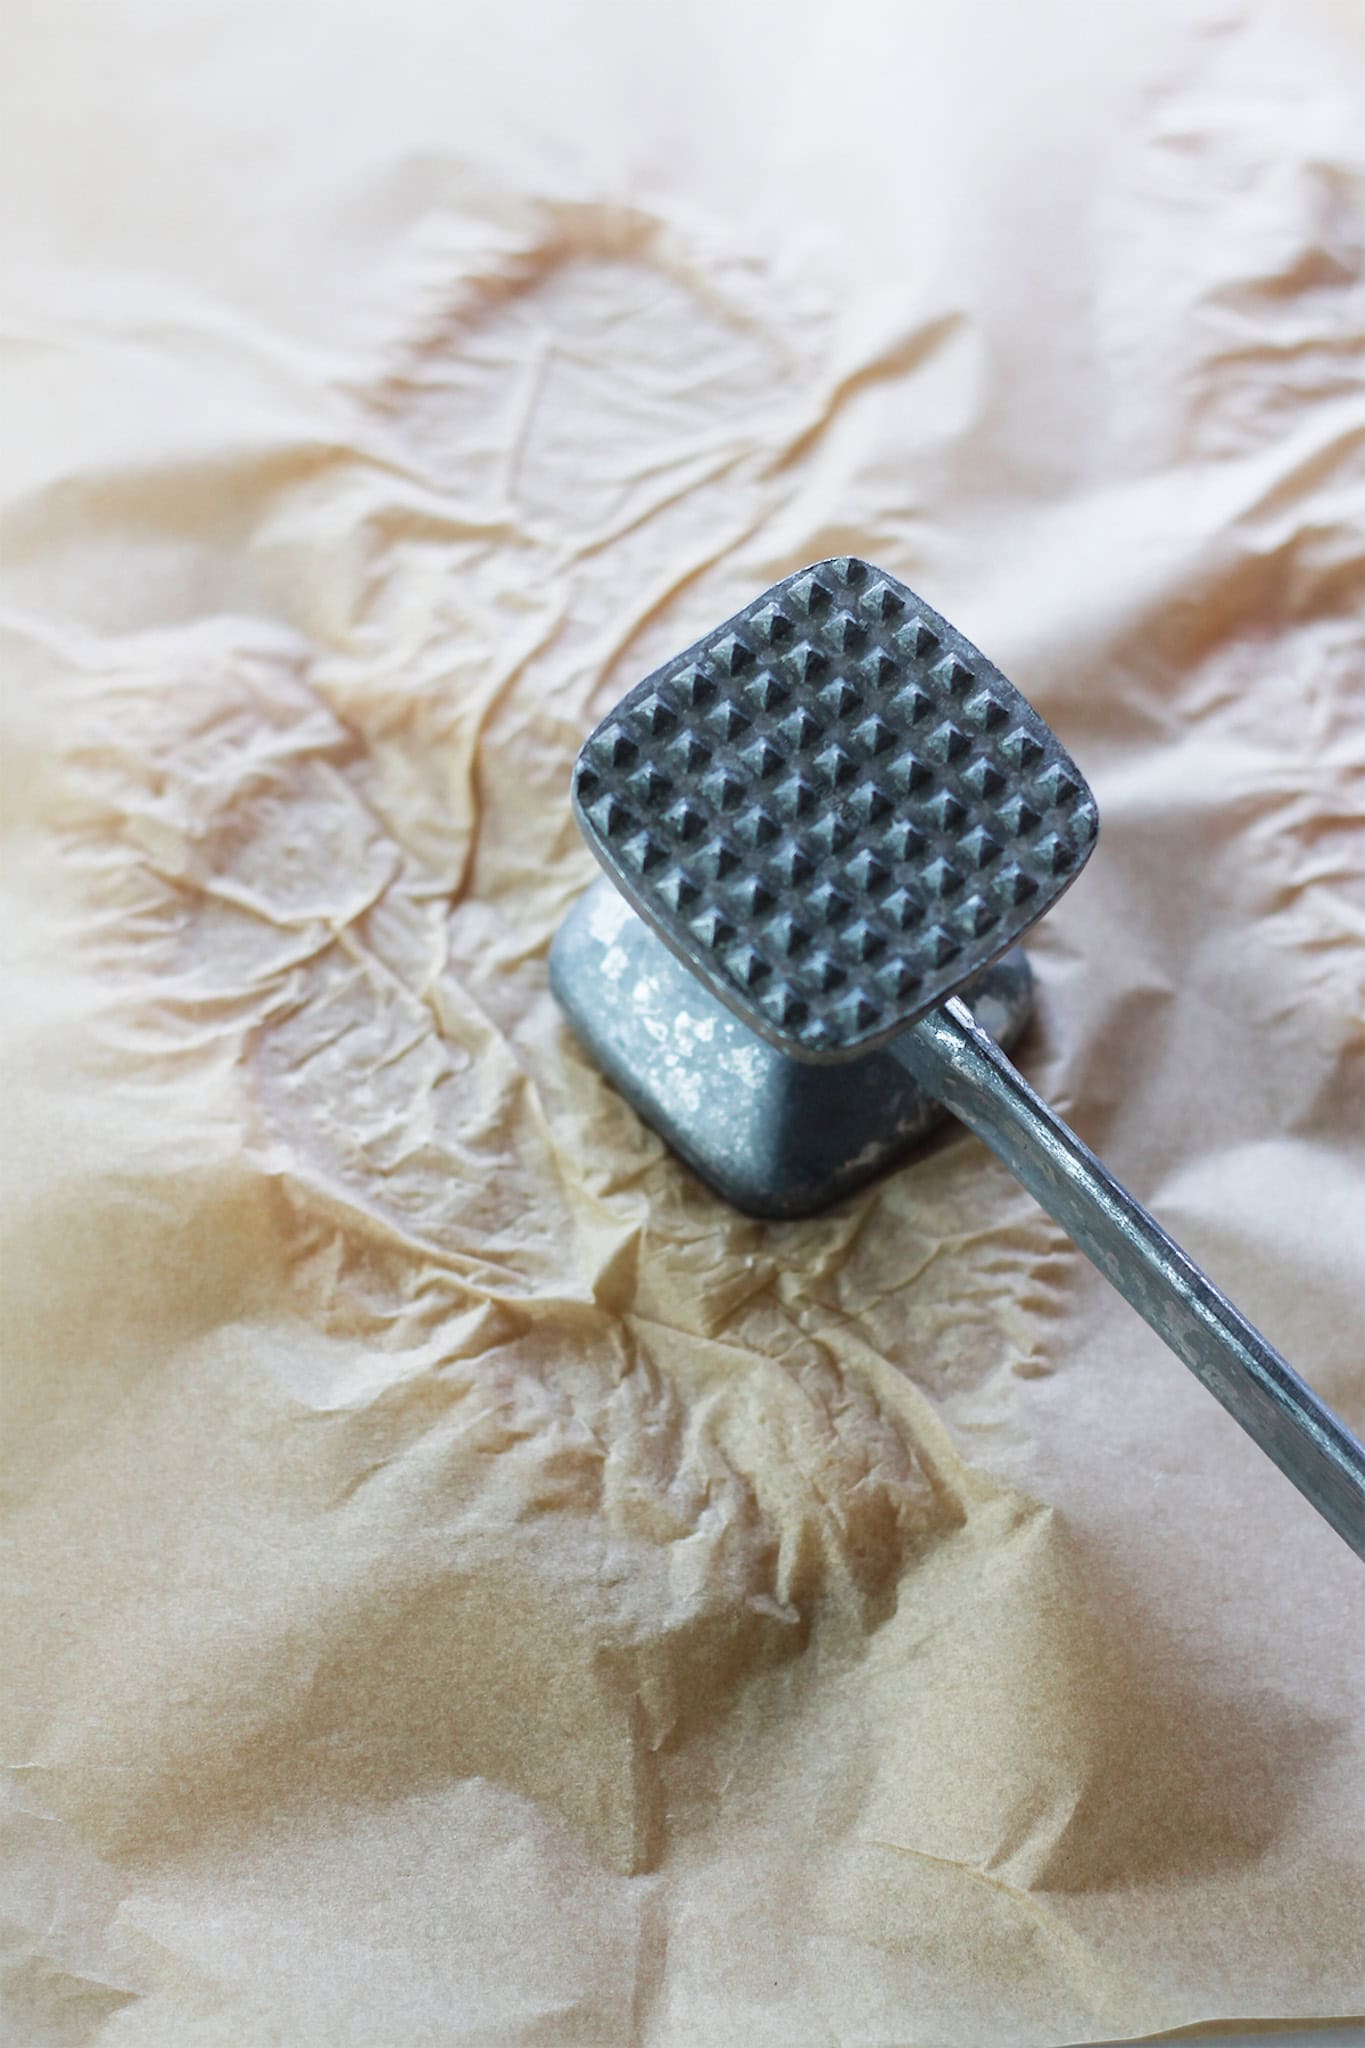
Prepare Chicken
Cover a cutting board with parchment paper or plastic wrap. Place chicken breast on the parchment paper or plastic wrap and cover with another piece of parchment or plastic wrap. Using the flat side of a mallet or heavy frying pan pound the chicken breast using short strokes starting with the thickest part of the breast working your way toward the edge. Flip the breast and repeat. Continue pounding until the chicken breast is ½ to ¼ inch thick.
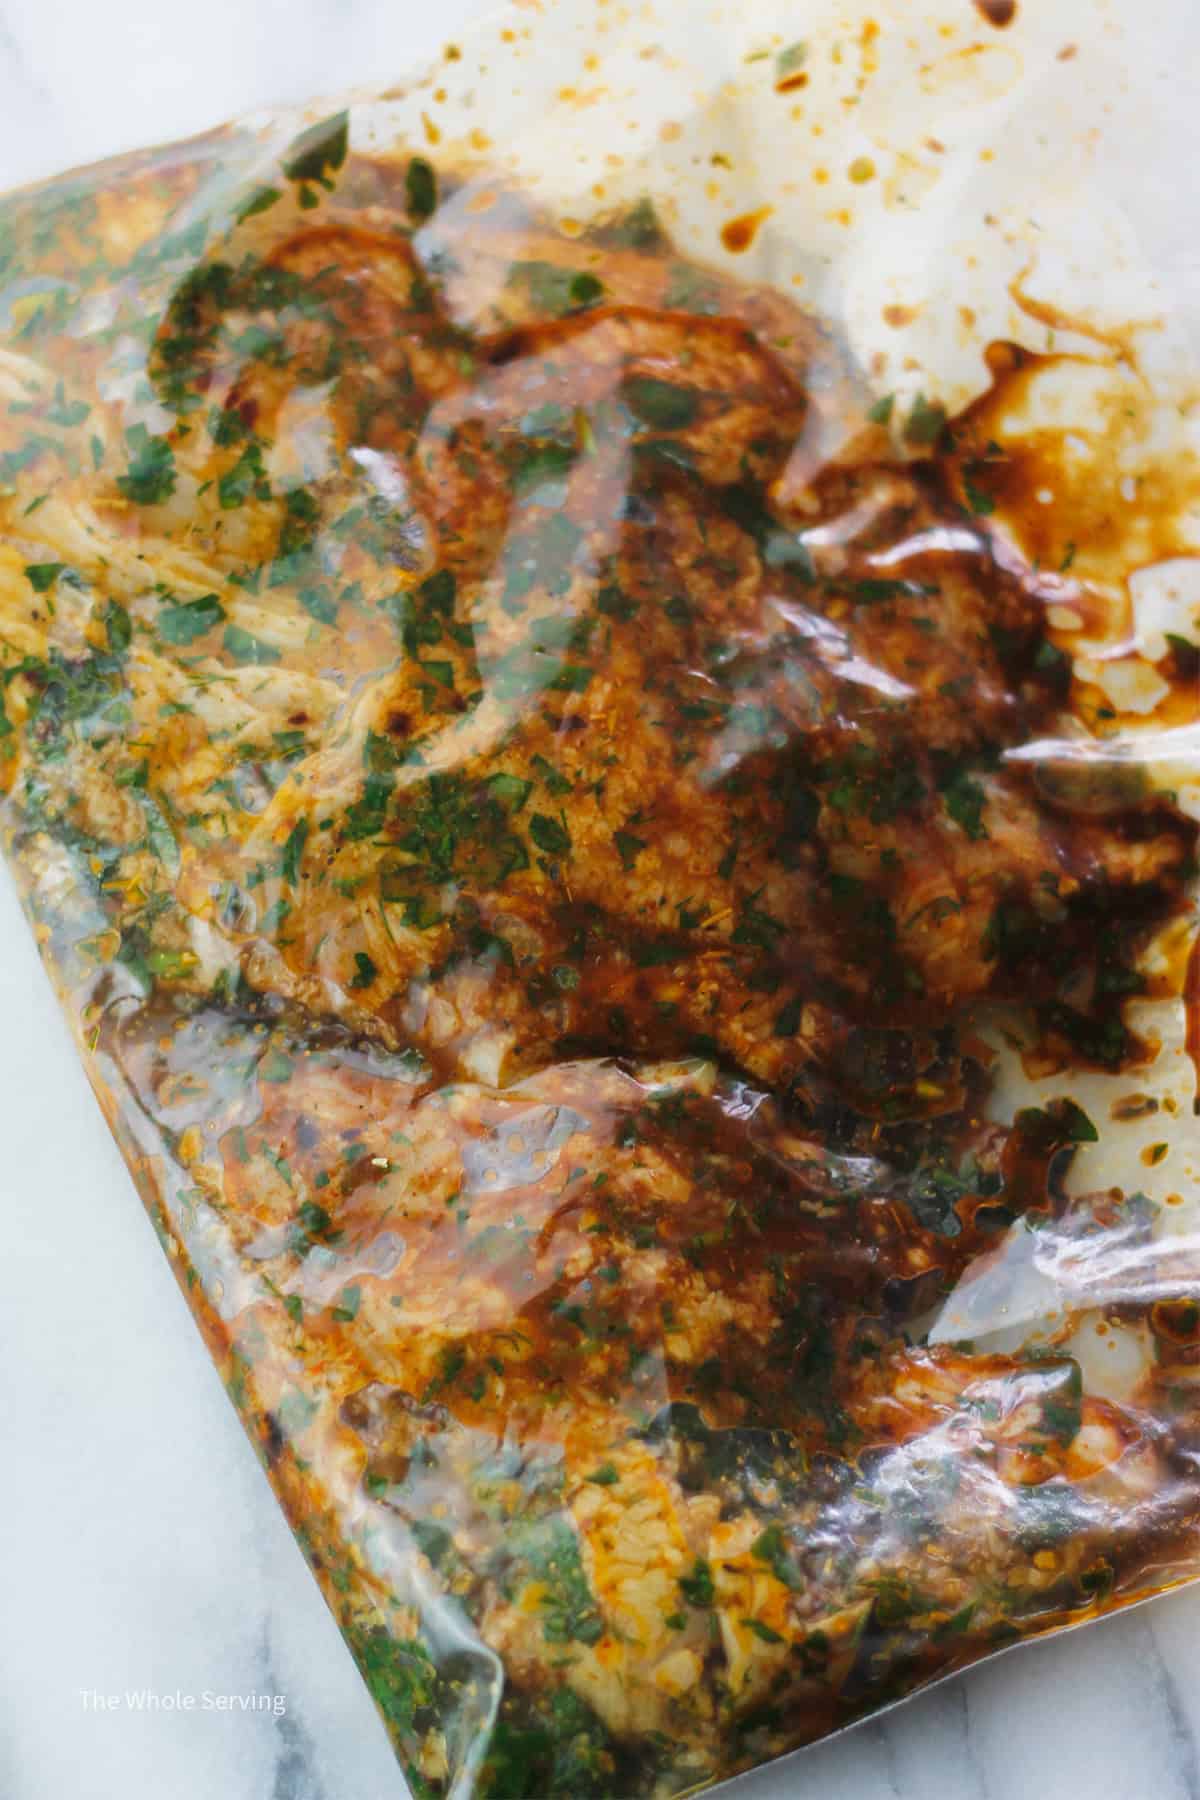
Marinate Chicken
Place the chicken breast in a gallon sized zip bag. Add ⅓ cup of the marinade sauce to the bag, zip the bag and massage to coat the chicken. If you prefer you can marinate the chicken in a large mixing bowl. Cover and reserve the remaining marinade sauce for serving.
Place on a flat rimmed baking sheet or pan so that the bag is flat and allow to marinate for 1 hour or overnight in the fridge.
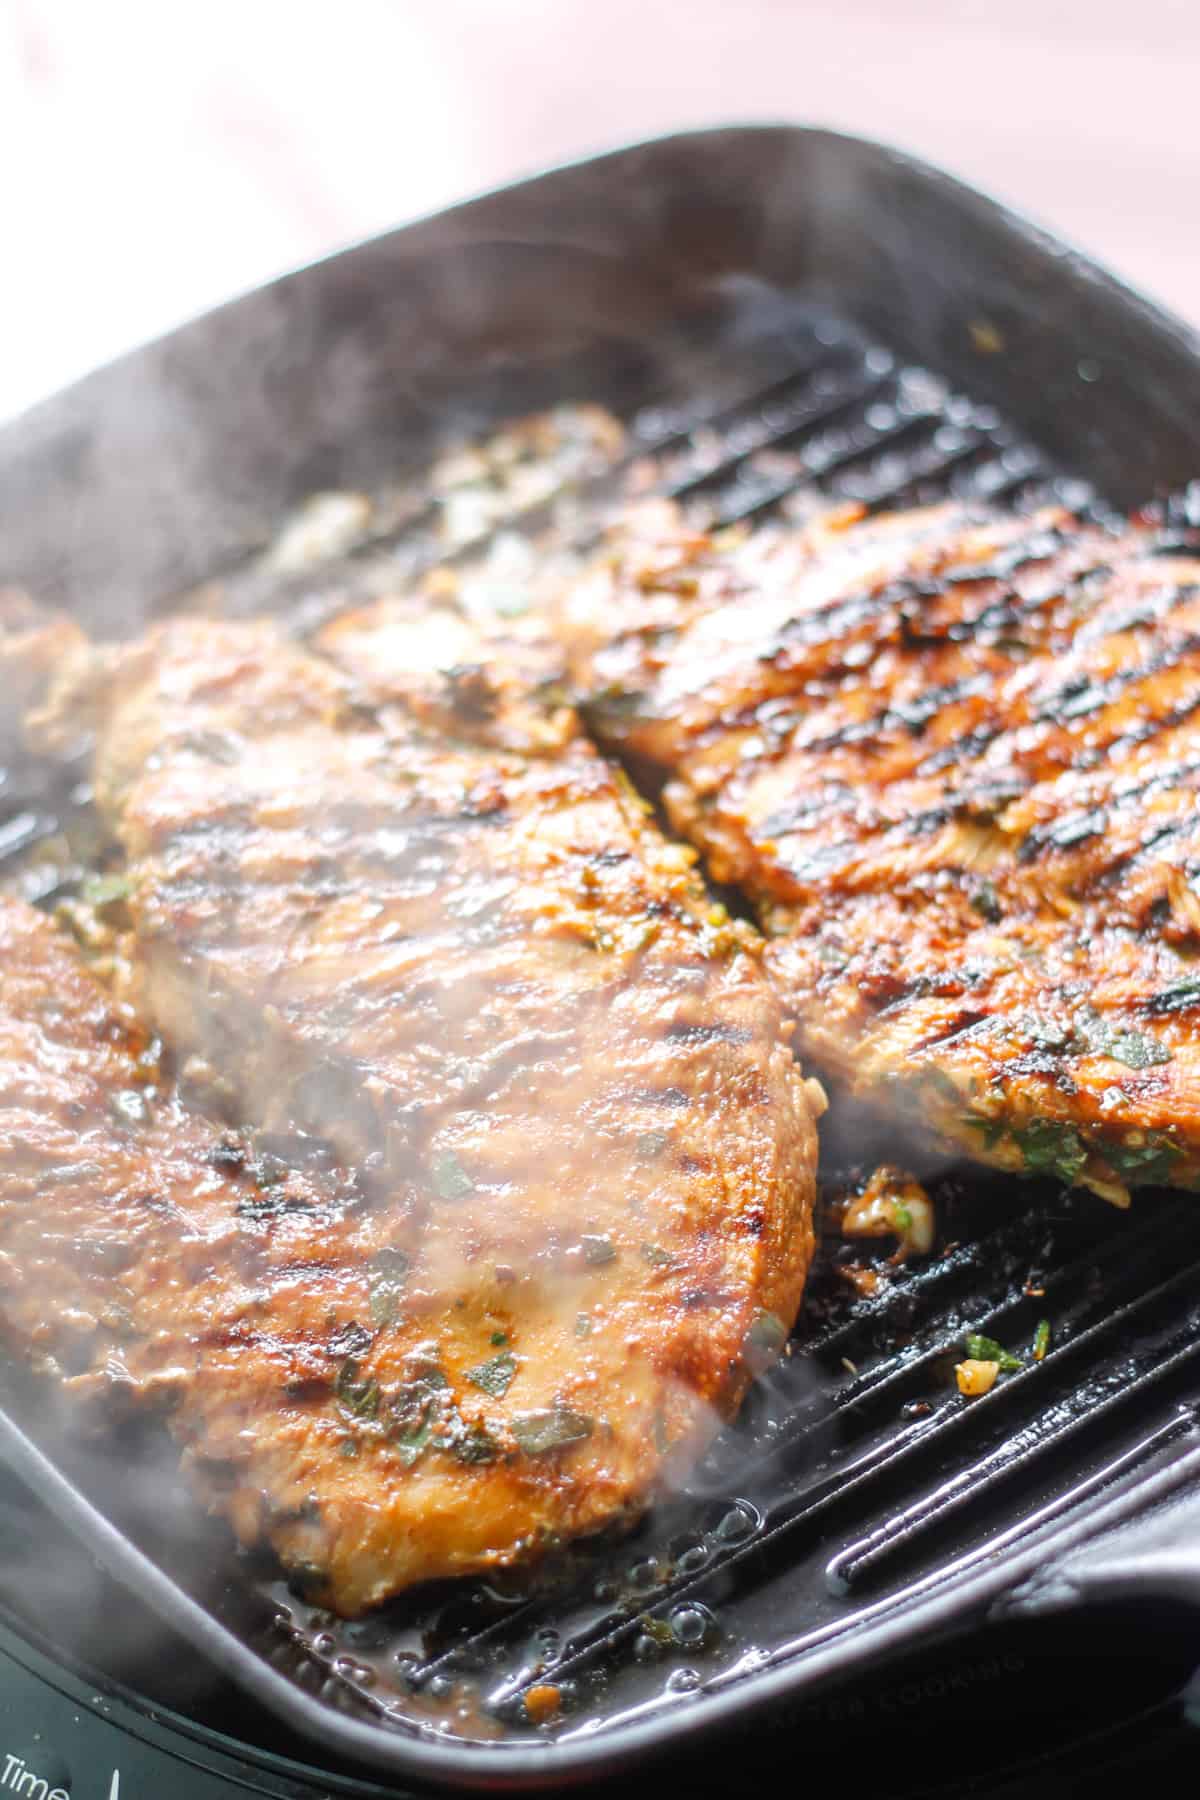
Grill The Chicken
Take chicken out of the fridge 20-30 minutes before grilling. Grilling ice cold chicken can lead to uneven or overcooking.
Heat a grill pan on medium-high heat. When the grill pan is hot, brush a bit of oil on the pan and make sure the entire pan is coated with oil.
Add the chicken breasts to the grill pan and cook for 5-6 minutes on the first side without moving, until the undersides develop dark grill marks. Flip the chicken breasts using a pair of tongs or a fork and cook the other side for another 5-6 minutes. (To make sure your chicken is safe to eat, use a thermometer to check that the internal temperature reaches 165 degrees.)
Remove from the pan and allow chicken to cool before slicing and serving.
Top Recipe Tips
Allow time to marinate: Marinate overnight or for at least an hour before cooking. It helps to tenderize the chicken and allows it to absorb flavor from the marinade.
Don’t overcrowd the pan: Overcrowding the pan will create steam and will disturb the searing process.
Don’t move the chicken too soon: To get beautiful sear marks allow the chicken to cook for 5-6 minutes before turning.
Allow to cool: Allowing the chicken to cool before slicing lets the juices redistribute throughout the chicken resulting in moist, tender, and juicy chicken.
How To Serve
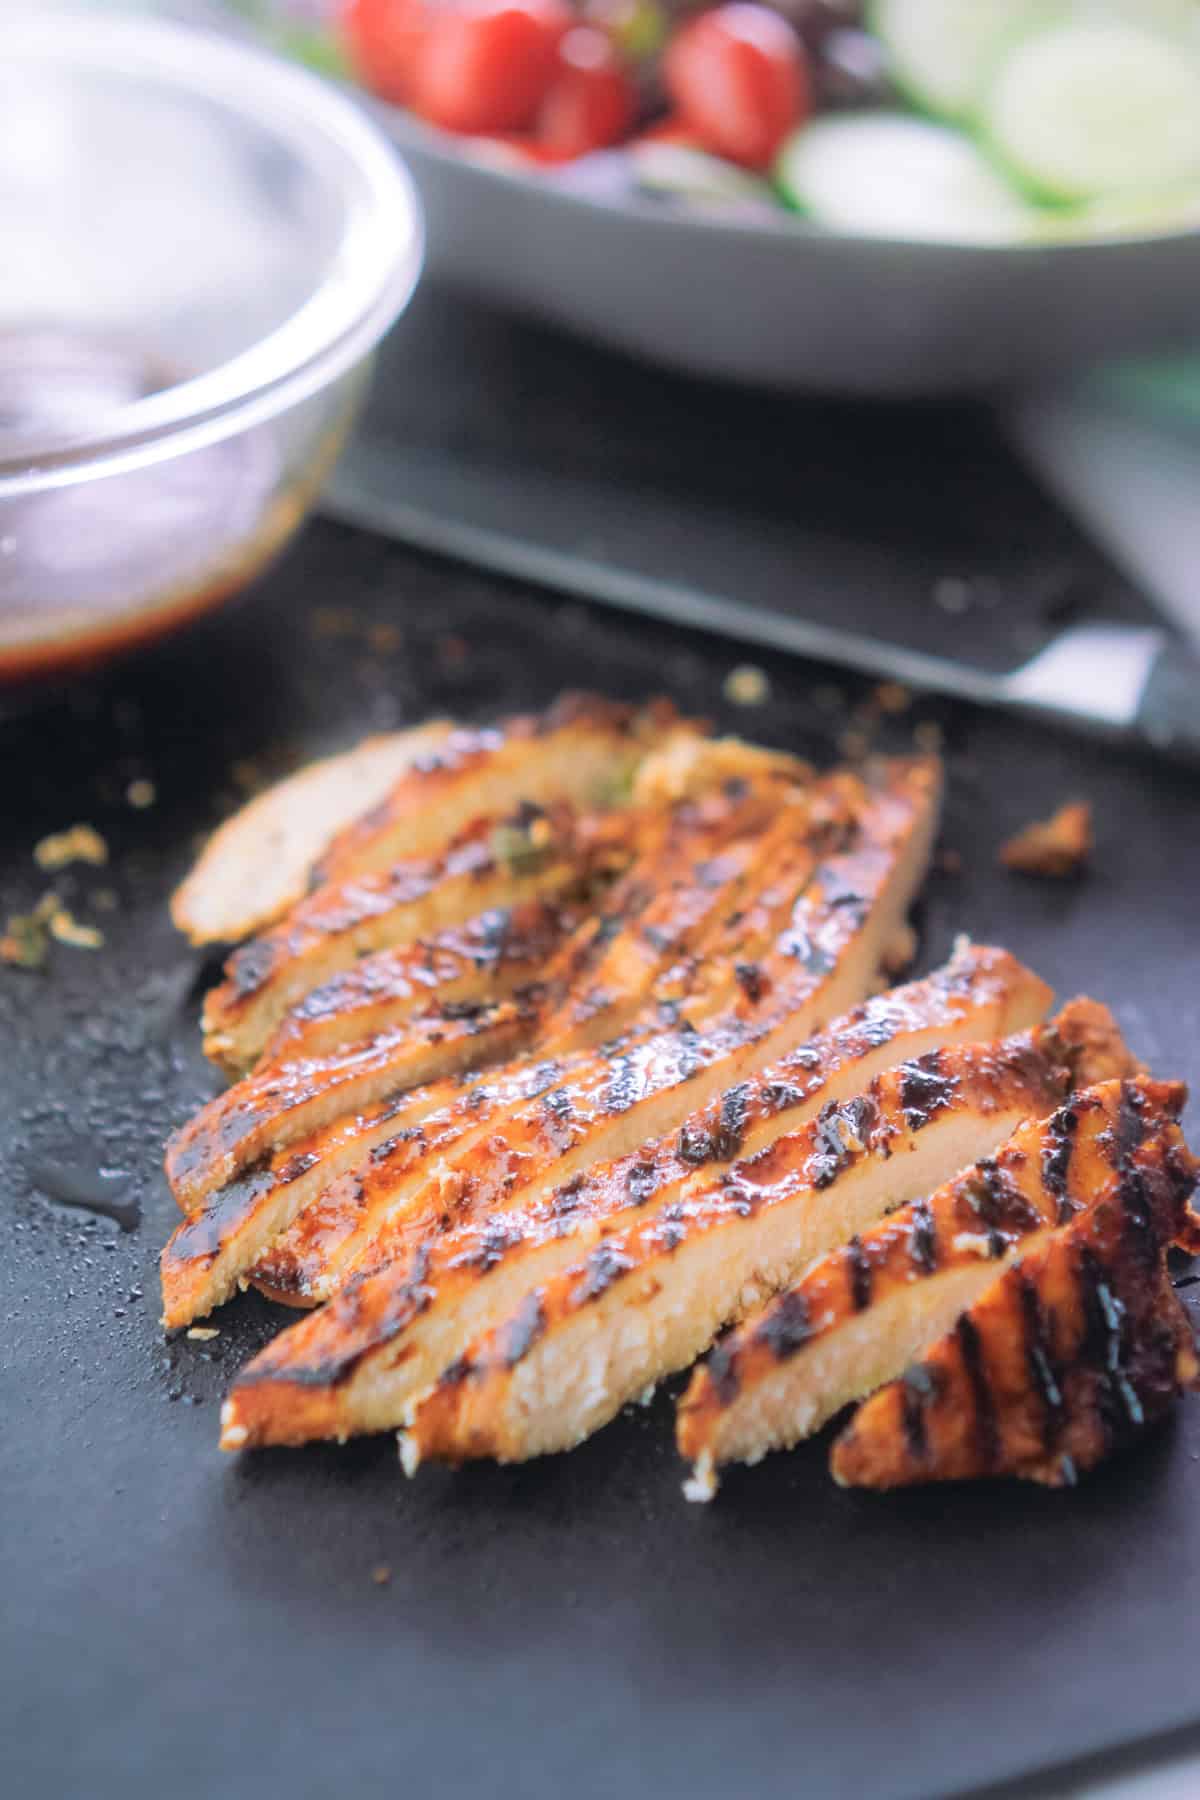
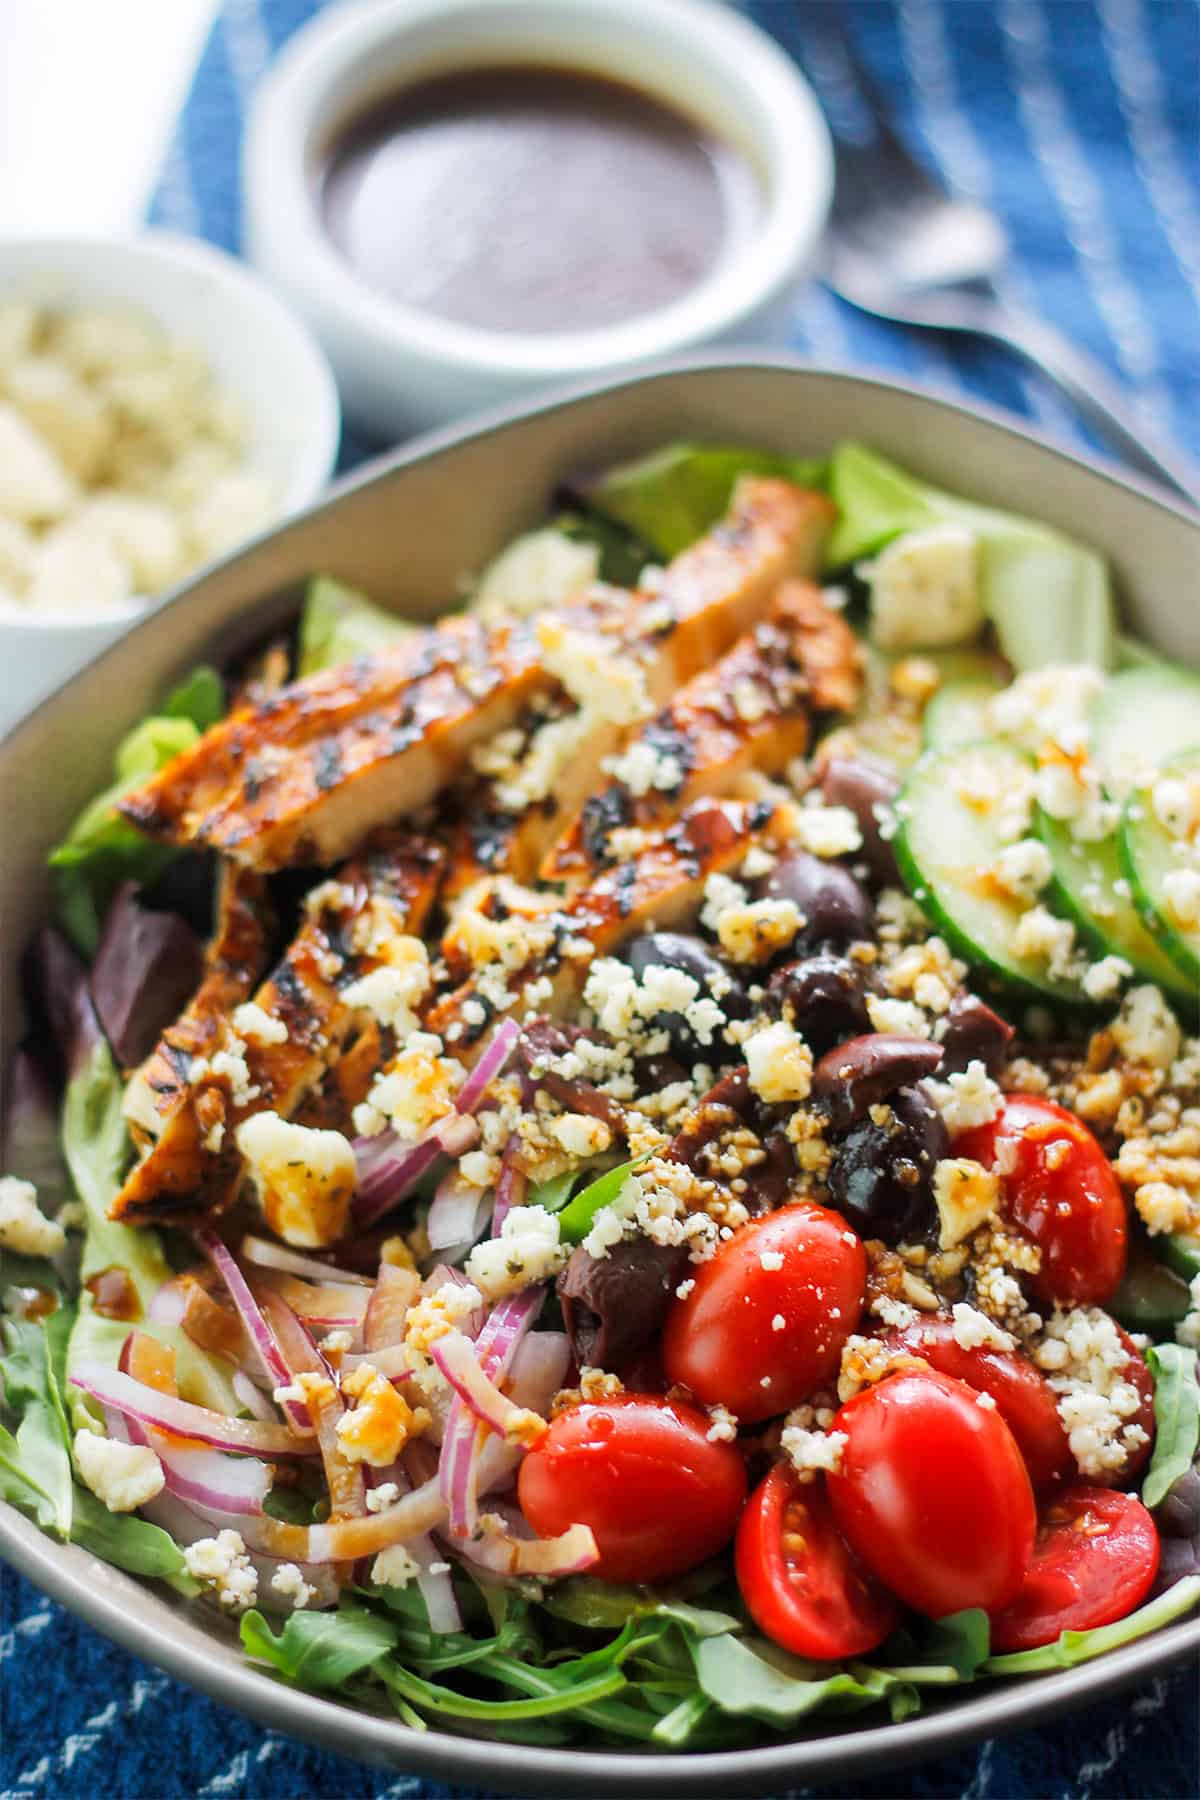
Serve grilled chicken with some of the remaining marinade sauce. Grilled chicken pairs well with vegetables, pastas, and salads. This is a good recipe for making chicken tacos or to use in a salad.
Get Free Recipe Updates!
Substitutions and Variations
Chicken Breast - You can use boneless thighs or bone-in breast, thighs, or drumsticks. However the bone-in chicken will take a little longer to cook, but will have extra flavor.
Chipotle Chilies - You can use any variety of chili you choose.
Cilantro - Use any herb you desire or have on hand.
Limes - Use lemons if you don’t have limes, but I don’t recommend using Jared lemon or lime juice, fresh is best.
How To Store Leftovers
Chicken: Store any leftovers in an airtight container in your refrigerator and eat within 3-4 days. You can also freeze the chicken in an wrapped and airtight container up to 3 months.
Marinade Sauce: This sauce can be stored in the fridge in an airtight container and consumed within a week. You can also store in ice cube tray in the freezer. When you are ready to use allow to thaw at room temperature.
FAQ
Yes, you can use boneless thighs or bone-in breast, thighs, or drumsticks. However the bone-in chicken will take much longer to cook, but will have extra flavor.
You should preheat the cast iron grill pan over medium-high heat. You want your pan to be hot enough to sear the chicken and create grill marks, but not so hot that it burns.
Lemon Buleberry Crumb Cake with Lemon Cream Cheese Topping
Our Lemon Blueberry Crumb Cake with Cream Cheese Topping has a moist and tender crumb, bursting with juicy blueberries and infused with the bright, zesty notes of fresh lemon.
- Prep Time: 15
- Cook Time: 30
- Total Time: 45 minutes
- Yield: 16 Servings
- Category: Breads
- Method: Oven
- Cuisine: American
Ingredients
Batter
2 cups flour
1 teaspoon baking powder
1 teaspoon baking soda
½ teaspoon salt
1 cup plain greek yogurt
1 egg at room temperature
3 tablespoons half and half or milk
¼ cup butter, melted
¼ cup canola oil
½ cup sugar
1 teaspoon vanilla
3 tablespoons fresh lemon juice (You will need 1 large lemon or 2 small lemons for the entire recipe)
1 teaspoon lemon zest
1 ½ cup fresh or frozen blueberries
Crumble Mix
⅓ cup all-purpose flour
2 tablespoons brown sugar
2 tablespoons butter, melted
1 teaspoon lemon zest
Cream Cheese Topping
4 oz. Cream cheese
2 tablespoons milk
1 teaspoon lemon zest
2 tablespoons lemon juice
Instructions
- Prepare the baking pan and the oven: Cut a strip of parchment paper measuring 16 ½ inches long and wide enough to line the bottom of a 9x9 baking pan. Place the parchment in the pan leaving 2 inches of overhang. This makes it easier to lift the cake out of the pan later. Preheat your oven to 350 degrees.
- Make the crumb topping: Combine the flour, brown sugar, melted butter and lemon zest in a small bowl. Cover and set aside.
- Combine the dry ingredients: Using a medium sized bowl, combine the flour, baking powder, baking soda, and salt. Whisk (affiliate link) to combine. Set aside.
- Combine the wet ingredients: Pour the yogurt into a large bowl, add the egg and whisk (affiliate link) to combine. Add the milk, melted butter, oil, sugar, vanilla, lemon zest and juice, whisk (affiliate link) until well combined. It should be a smooth consistency.
- Combine the wet into the dry ingredients: Add the dry ingredients to the wet in batches. Add ⅓ of the flour mixture to the wet and fold using a flexible spatula. When most of the flour has been incorporated, add half of the remaining flour mixture, fold again, then add the remaining flour and fold until there is no more dry flour. Your batter should be light and fluffy.
-
Assemble - Spoon half the batter into the pan and spread on the bottom of the pan, and
sprinkle half of the crumble mixture over the batter.
-
Top the crumble layer with the blueberries. If you are using frozen blueberries don’t thaw them. Keep them frozen until you are ready to layer them in your batter.
-
Spoon the remaining batter over the blueberries and spread evenly, then sprinkle the remaining crumble over the top of the batter.
-
Bake the cake in the middle of the oven for 25-30 minutes or until a toothpick inserted comes out clean and the cake springs back when you touch the top.
- Make the cream topping: While the cake is baking in the oven, use a small bowl to whisk (affiliate link) all of the cream topping ingredients together until smooth and creamy. (Depending on the temperature of your kitchen, you may need to microwave your cream cheese for a few seconds to soften before adding the remaining ingredients.) Transfer topping to a piping bag (affiliate link) or zip bag and set aside.
-
Cool: Remove from the oven and allow to cool. Once the cake has cooled, use the parchment paper to lift the cake out of the pan and place on a cutting board or other flat surface.
-
Top cake with cream topping: Spread or drizzle the cream topping over the top of the cake using a piping bag (affiliate link) or a zip bag with a corner of the bag cut.
-
Serve:Slice the cake into 16 squares and serve at room temperature or slightly warm.
Notes
If you are using frozen blueberries don’t thaw them. Keep them frozen until you are ready to layer them in your batter. Thawing your berries will create liquid on your berries causing the color to bleed.
How to Freeze Your Fresh Blueberries
Wash and dry the blueberries.
Place blueberries in a single layer on a parchment lined baking sheet pan. Place sheet pan in the freezer and freeze until blueberries are frozen solid.
Transfer frozen blueberries to a plastic zip bag or container with an airtight lid. If you are using a plastic zip bag, squeeze out as much air as possible before sealing the bag. Label and place in the freezer. I recommend using blueberries within 6 months.







Comments
No Comments